
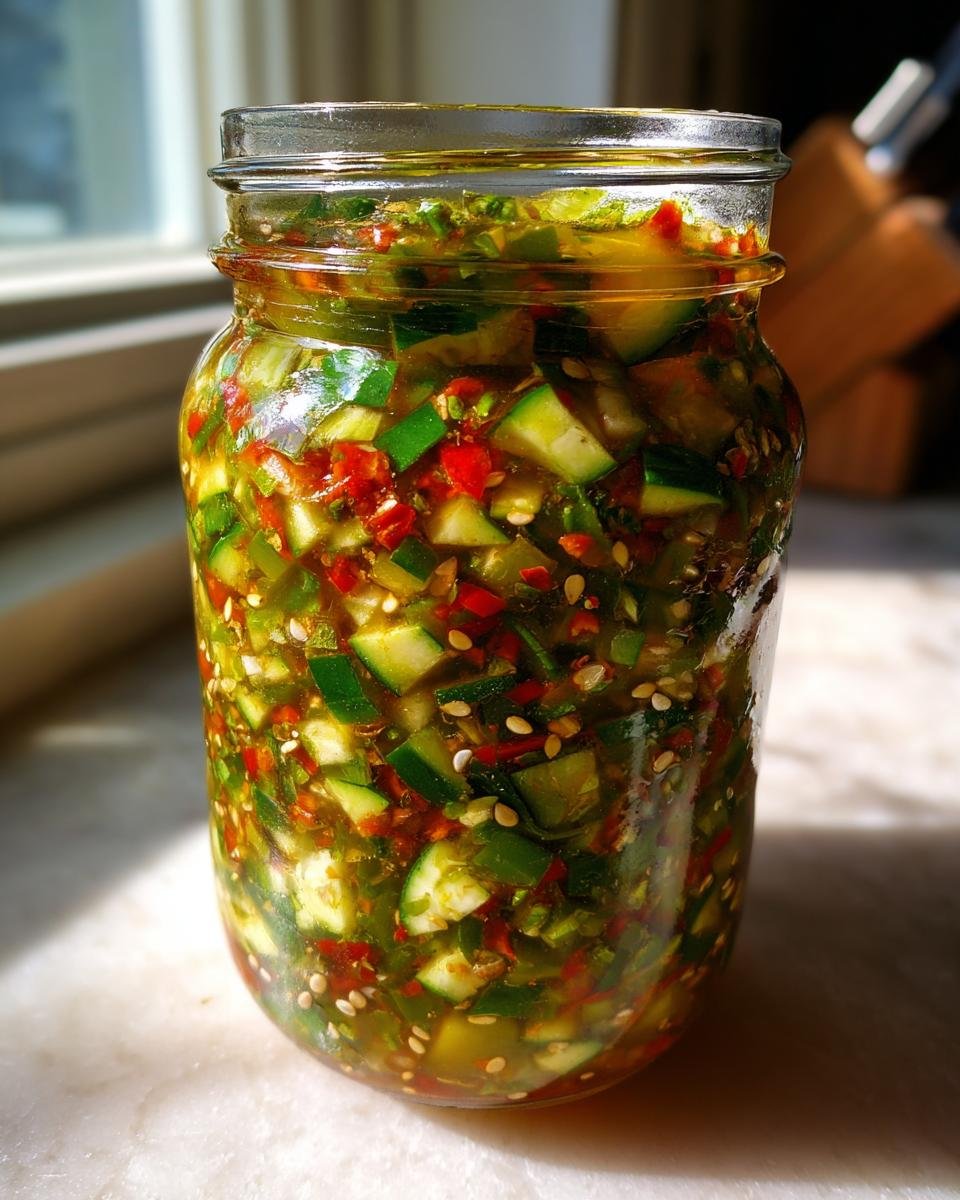
Oh, zucchini! It grows so fast in the summer, doesn’t it? One minute you have blossoms, the next you’re wondering what to do with what feels like a million pounds of it! Don’t you just love that feeling of summer’s bounty? Well, I’ve got the perfect solution for you: this amazing Zucchini Relish Recipe For Canning. It’s such a fantastic way to capture all that fresh flavor and enjoy it long after the season’s over. Seriously, this relish is so easy to whip up, bursting with bright, tangy goodness, and it makes even the simplest sandwich feel like a gourmet meal. I remember my first time canning this – little jars of sunshine made right in my kitchen!
Why You’ll Love This Zucchini Relish Recipe For Canning
Seriously, this recipe is a keeper for so many reasons!
- It’s super easy! Even if you’re new to canning, this recipe is straightforward and forgiving.
- Taste explosion! Forget boring relishes; this one is packed with bright, tangy, and slightly sweet flavors that just sing.
- So versatile! It livens up hot dogs, burgers, sandwiches, potato salad… you name it!
- Summer in a jar! There’s nothing quite like the satisfaction of opening a jar of homemade relish made with fresh summer zucchini.
Gather Your Ingredients for Zucchini Relish Recipe For Canning
Alright, let’s get our pantry ready for some serious summer flavor! You’ll need some nice, fresh zucchini – about four medium ones, which should give you around 4 cups once they’re grated. Grab a medium-sized onion and a green and a red bell pepper, too; we want them chopped up nicely. For the magic flavor base, you’ll also need white vinegar – 2 cups of it – and 1 cup of granulated sugar. Oh, and don’t forget our little spice buddies: 1 teaspoon each of mustard seed and celery seed, 1/2 teaspoon of turmeric for that gorgeous color, and just a pinch of black pepper. Oh, and one crucial thing for drawing out all that extra water: coarse salt, about 1/4 cup of it.
Step-by-Step Guide to Making Zucchini Relish Recipe For Canning
Alright, let’s get down to business and make this amazing relish! It’s not hard, I promise. We’ll tackle it step by step. You’ll want to have your jars sterilized and ready to go once the relish is done, so maybe get that started while you’re prepping the veggies. A clean workspace is key for canning, so make sure everything is sparkling!
Preparing the Zucchini Mixture for Zucchini Relish Recipe For Canning
First things first, get your grated zucchini, chopped onion, and both bell peppers into a big bowl. Now, sprinkle that 1/4 cup of coarse salt all over it. Give it a good stir to make sure everything is coated. The salt is going to work its magic and pull out all the extra water from the veggies. Let this sit for a whole hour – patience, my friend! After an hour, you’ll see all this liquid at the bottom. You need to drain it *really* well. I like to press it down with the back of a spoon to get as much liquid out as humanly possible. Then, give it a good rinse under cold water and drain it again. This step is super important for a relish that’s not watery!
Simmering the Zucchini Relish to Perfection
Now for the yummy part! Grab a nice big pot – seriously, use your biggest one. Pour in the white vinegar, add the sugar, mustard seed, celery seed, turmeric, and black pepper. Pop it on the stove over medium-high heat and stir it until the sugar is completely dissolved. Once it’s all dissolved and the mixture is bubbling, add in that drained and rinsed zucchini mixture. Turn the heat down to low, and let it all simmer for about 15 minutes. Give it a stir now and then so nothing sticks to the bottom. You’ll notice it thickening up and the smell will be heavenly!

Canning Your Zucchini Relish
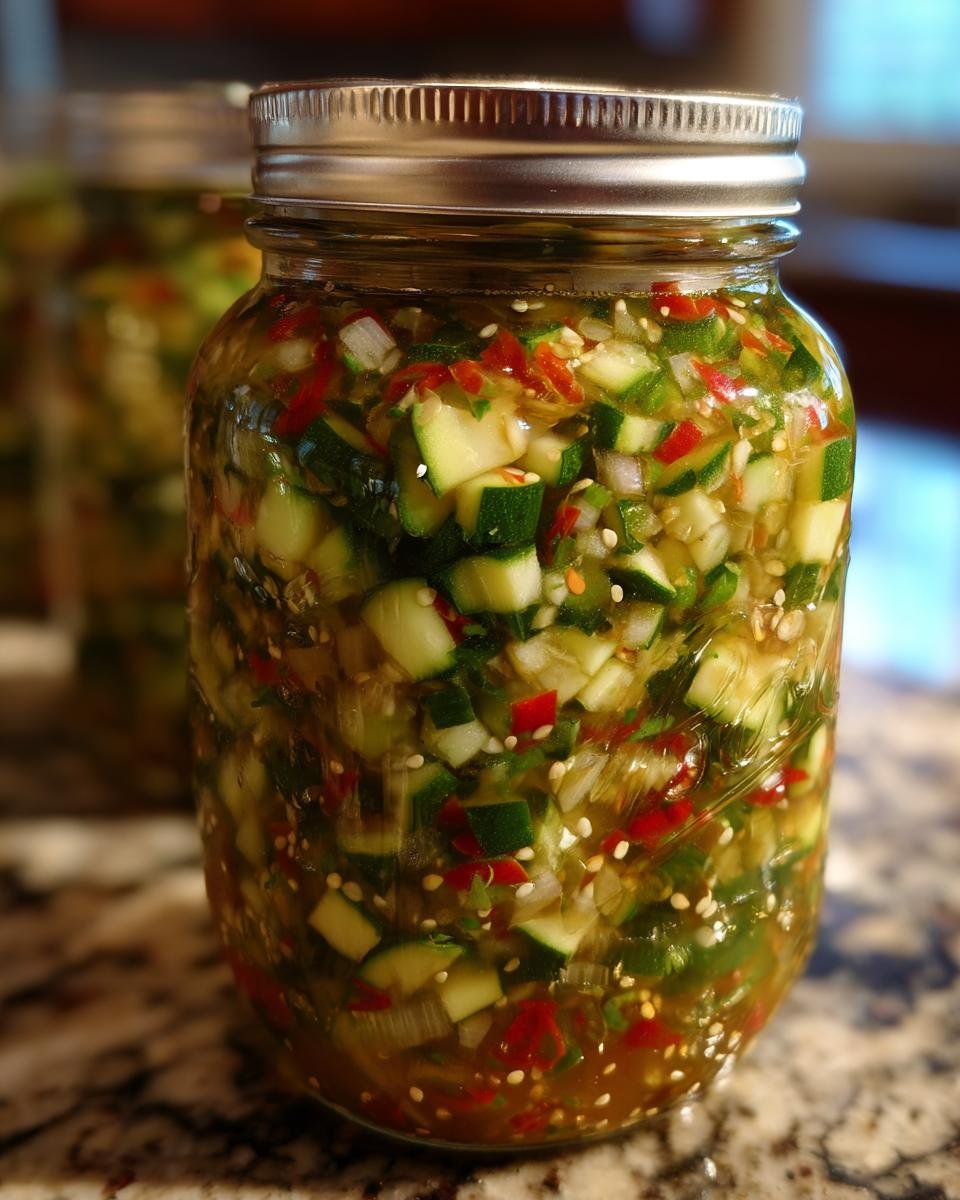
Okay, this is where things get serious about preserving all this goodness! While the relish is simmering, make sure your canning jars and lids are hot and sterilized. Carefully pack the hot relish into your clean jars, leaving about half an inch of space at the top – that’s called headspace, and it’s important. Use a clean cloth or paper towel to wipe the rims of the jars really well; any little bit of relish on there can stop them from sealing. Pop on your lids and twist the rings on, but not too tight – just snug. Then, carefully place the jars into your boiling water canner. Make sure they’re covered by at least an inch of water and process them for 10 minutes. Once they’re done, carefully lift them out and set them on a towel-lined counter to cool completely. Listen for that satisfying *ping* as they seal!
Tips for Zucchini Relish Recipe For Canning Success
You know, making this relish is pretty foolproof, but I’ve picked up a few little tricks along the way that really make it shine. First off, when you’re picking out your zucchini, try to grab ones that are on the smaller side. They’re usually not as watery and have fewer seeds, which means a better texture for your relish. Don’t be afraid to really press out that liquid after the salting stage – seriously, squeeze it like you mean it! This is probably the most important step for avoiding a watery relish. If you’re feeling adventurous, you can totally play with the spices. Add a pinch of cayenne for a little kick, or even some dill if you’re feeling bold. It’s your kitchen, your rules! And speaking of zucchini, if you ever have extra and aren’t canning, my roasted parmesan zucchini recipe is a lifesaver!
Ingredient Notes and Substitutions
So, you’ve got your basic ingredients, right? But what if you’re missing something or just want to switch things up a bit? Totally doable! For the vinegar, apple cider vinegar works like a charm if you don’t have white. It adds a slightly different, mellow tang. If you can’t find both green and red bell peppers, no worries! Just use two of one color, or even a mix of those and yellow or orange ones for a fun pop of color. And if you’re not a fan of mustard or celery seed, you can nudge the quantities or skip them, but they really do add that classic relish depth, so I recommend keeping them if you can!
Serving Suggestions for Your Homemade Zucchini Relish
Okay, now that you’ve got these gorgeous jars of homemade zucchini relish, what do you do with them? Oh, the possibilities! Of course, it’s amazing on hot dogs and burgers – a total game-changer. But think bigger! It’s fantastic stirred into tuna salad or egg salad for an extra zing. Drop a spoonful into your potato salad to give it a fresh, bright kick. It even makes a surprisingly delicious topping for grilled chicken or fish, and sometimes I sneak it into my spaghetti sauce for a little secret something-something!

Storage and Reheating Instructions
Once your beautiful jars of zucchini relish have cooled and sealed properly, they’re good to go for a long, long time! Keep them in a cool, dark place like your pantry or basement. They’ll stay at their best for about a year, usually up to 18 months, but honestly, they taste so good you’ll probably use them up way before then! Once you’ve opened a jar, just pop it in the fridge. It’ll keep nicely there for a few weeks. You really don’t need to reheat relish; it’s meant to be enjoyed cold, straight from the jar!
Frequently Asked Questions About Zucchini Relish
Got a few lingering questions about turning all that summer zucchini into delicious relish? I totally get it! Canning can seem a bit intimidating at first, but once you get the hang of it, it’s super rewarding. Here are some common things people ask:
How long does canned zucchini relish last?
When you can it properly, making sure those jars seal tight, your homemade zucchini relish can last for a good year, maybe even 18 months! Just store them in a cool, dark spot. Once opened, though, it’s fridge-bound and best eaten within a few weeks.
Can I adjust the sweetness or tanginess of this zucchini relish?
Oh, absolutely! This recipe is a great starting point, but you can totally play with it. Want it sweeter? Add a little more sugar. More zing? A splash more vinegar. Just remember, changing the ratios too much can affect the canning process, so make small tweaks and be sure to process them correctly!
What if my relish doesn’t seal properly?
Don’t panic if a jar doesn’t seal! It happens. That means it’s not safe for shelf storage. Just pop that jar in the fridge right away and use it up within a couple of weeks. It’ll still taste just as yummy on your sandwiches and burgers!
Nutritional Information
So, about the good stuff! This relish is pretty light for being so flavorful. We’re looking at about 30 calories per serving (that’s for roughly 2 tablespoons). It’s got about 7 grams of carbs and a little under 6 grams of sugar, but zero fat and protein, which is pretty neat! Just remember, these numbers are estimates, since everyone’s zucchini and pantry staples can vary a bit!
Print
Zucchini Relish Recipe For Canning
- Total Time: 45 minutes
- Yield: Approximately 4 pints 1x
- Diet: Vegetarian
Description
A simple recipe for making zucchini relish for canning, perfect for preserving summer’s bounty.
Ingredients
- 4 cups grated zucchini (about 4 medium zucchini)
- 1 cup chopped onion (about 1 medium onion)
- 1/2 cup chopped green bell pepper (about 1/2 medium pepper)
- 1/2 cup chopped red bell pepper (about 1/2 medium pepper)
- 1/4 cup salt
- 2 cups white vinegar
- 1 cup granulated sugar
- 1 teaspoon mustard seed
- 1 teaspoon celery seed
- 1/2 teaspoon turmeric
- 1/4 teaspoon black pepper
Instructions
- In a large bowl, combine grated zucchini, chopped onion, green bell pepper, red bell pepper, and salt. Let stand for 1 hour.
- Drain the zucchini mixture thoroughly, pressing out as much liquid as possible. Rinse the mixture under cold water and drain again.
- In a large pot, combine vinegar, sugar, mustard seed, celery seed, turmeric, and black pepper. Bring to a boil, stirring until sugar dissolves.
- Add the drained zucchini mixture to the pot. Reduce heat and simmer for 15 minutes, stirring occasionally.
- Pack the hot relish into sterilized canning jars, leaving 1/2 inch headspace. Remove air bubbles.
- Wipe jar rims and place lids and rings on.
- Process in a boiling water bath for 10 minutes.
- Remove jars from the water bath and let cool completely on a towel-lined counter. Check seals.
Notes
- Ensure your canning jars and lids are properly sterilized before use.
- Adjust sugar and vinegar to your taste preference.
- This relish is great on sandwiches, burgers, and hot dogs.
- Prep Time: 20 minutes
- Cook Time: 25 minutes
- Category: Condiments
- Method: Canning
- Cuisine: American
Nutrition
- Serving Size: 2 tablespoons
- Calories: 30
- Sugar: 6g
- Sodium: 150mg
- Fat: 0g
- Saturated Fat: 0g
- Unsaturated Fat: 0g
- Trans Fat: 0g
- Carbohydrates: 7g
- Fiber: 0g
- Protein: 0g
- Cholesterol: 0mg
Keywords: zucchini relish, canning, homemade relish, summer recipe, vegetable preservation, condiment recipe