
You know that morning? The one where everyone is starving at different times, and you’re flipping, flipping, and flipping individual pancakes while muttering under your breath? I used to dread big weekend brunches because the first batch was always cold by the time the last one was golden brown. Seriously, the stack would lean precariously! That frustration is exactly what led me to this game-changing method: the glorious **Sheet Pan Pancakes**. Trust me, making this giant, baked pancake that you just slice up is the easiest way I’ve found to feed a crowd without losing my mind. It cooks everything evenly in the oven, and suddenly, mornings feel sunny again!
Why You Will Love These Sheet Pan Pancakes
Honestly, once you try baking your pancakes instead of standing over the skillet, you’ll never go back to the old way. It saves your sanity, especially on busy weekends! Here are the main reasons these Sheet Pan Pancakes have become my absolute go-to:
- Maximum Speed, Minimum Effort: We’re talking about mixing up one giant batter and pouring it out. While the oven does all the hard work, you’re totally free! No more standing by the stove waiting for bubbles.
- Cleanup is a Breeze: This is my favorite part! Since you’re only using one big sheet pan (which you grease up nicely), the cleanup is unbelievably fast compared to scrubbing a griddle or four different frying pans.
- Serving Huge Crowds? No Problem!: If you have hungry teenagers or family visiting, this recipe is your best friend. You can easily feed 8 or 10 people with just one pan. It keeps everyone happy and eating at the same time.
- They Hold Heat Beautifully: Baked pancakes stay warm longer than individually griddled ones. You just pull the pan from the oven, slice it up right there, and everything stays warm on the plate until folks dig in. If you’re looking for ways to elevate standard breakfast fare, check out my guide to making fluffy pancakes too, though these baked ones are just different!
Essential Ingredients for Perfect Sheet Pan Pancakes
You don’t need a million weird things for this recipe to work—it uses pantry staples, which is another win in my book! The key here is having everything measured out before you start mixing. Remember, with baking, precision matters, even if we’re keeping things super simple.
Here is exactly what you need to gather for one amazing, giant batch of baked pancake goodness:
- Two cups of all-purpose flour (spooned and leveled, please!)
- Four teaspoons of baking powder—this is what gives these their rise!
- One teaspoon of salt
- Two tablespoons of regular sugar
- Two large eggs, beaten slightly
- One and three-quarters cups of milk (any kind works, but whole milk is always better!)
- Half a cup of melted butter (make sure it’s cooled down a tiny bit before adding it!)
- One teaspoon of pure vanilla extract
That’s it! You see? No complicated buttermilk or soaking anything overnight. Just whisk, pour, and bake. It’s why these **Sheet Pan Pancakes** are total lifesavers on a weekend morning.
Expert Tips for Making Fluffy Sheet Pan Pancakes
Look, just because this is easy doesn’t mean we should skip the technique, right? These **Sheet Pan Pancakes** are more like a thick, fluffy baked good than a traditional crepe, but we still want them light!
I learned the hard way that shortcuts in technique lead to sad, dense pancakes. Always take the time to do these steps right—it makes all the difference in how high and light they rise in the oven. If you want to learn more about general fluffiness secrets, I have a fantastic guide on making the ultimate fluffy pancake batter for reference!
The Secret to Avoiding Overmixed Sheet Pan Pancakes Batter
This is the most important rule for *any* pancake, baked or griddled: Do NOT beat that batter into submission! When you combine the wet and dry ingredients, you are activating the gluten in the flour. If you mix until it’s perfectly smooth, you’ll end up with chewy, rubbery results. We want tender, fluffy pancakes, so stop mixing the instant you see the last streak of flour disappear. It is absolutely okay—in fact, it’s required—for the batter to look slightly lumpy. Those lumps are your proof that you didn’t overwork it!
Achieving Even Baking in Your Sheet Pan Pancakes
Because we’re baking one giant slab, consistency is everything. Make sure you’re using a standard half-sheet pan—the 13×18 inch size—every time. If you use a smaller or deeper pan, the center will never cook at the same time as the edges, and you’ll get gooey spots. Also, always place your rack in the center of the oven. My oven runs a little hot on one side, so I always rotate the pan halfway through the baking time, just to be safe. And when you think they are done? Check the very middle, not just the edges, to confirm everything is set before pulling them out.
Step-by-Step Instructions for Sheet Pan Pancakes
Okay, let’s get down to business! This is where the magic happens, and genuinely, it’s so straightforward you’ll wonder why you wasted time with a skillet for so long. The first thing you MUST do is get that oven roaring hot. I mean it—preheat your oven to 400 degrees Fahrenheit (200 Celsius) right away. While it’s heating up, grab that 13×18 inch sheet pan and grease it really well. Don’t skimp here; a little extra butter or cooking spray prevents disaster later! This **Sheet Pan Pancakes** method relies on a hot, ready surface so the batter sets immediately when it hits the pan.
This recipe is such a fantastic solution for big breakfasts, and you can find my full process breakdown right here, but let’s walk through the crucial mixing steps below.
Preparing the Dry and Wet Mixtures for Sheet Pan Pancakes
You want two separate bowls working simultaneously. In the first big bowl, whisk together all your dry stuff: the flour, the sugar, the baking powder, and the salt. Whisk them really good until everything looks uniform. You’re distributing the leavening agents, which is important.
In your second bowl—a medium one is fine—combine the wet ingredients: the eggs, the milk, the vanilla extract, and that melted butter we made sure cooled off a touch. Once those are whisked together, it’s time for the moment of truth! Pour the entire wet mixture right into the dry mixture. Use a spatula and mix gently. Remember what I said about overmixing? Stop when you see just a few dry streaks lingering. Seriously, put the whisk down! Lumps are your friends in pancake land.

Baking and Checking Doneness for Sheet Pan Pancakes
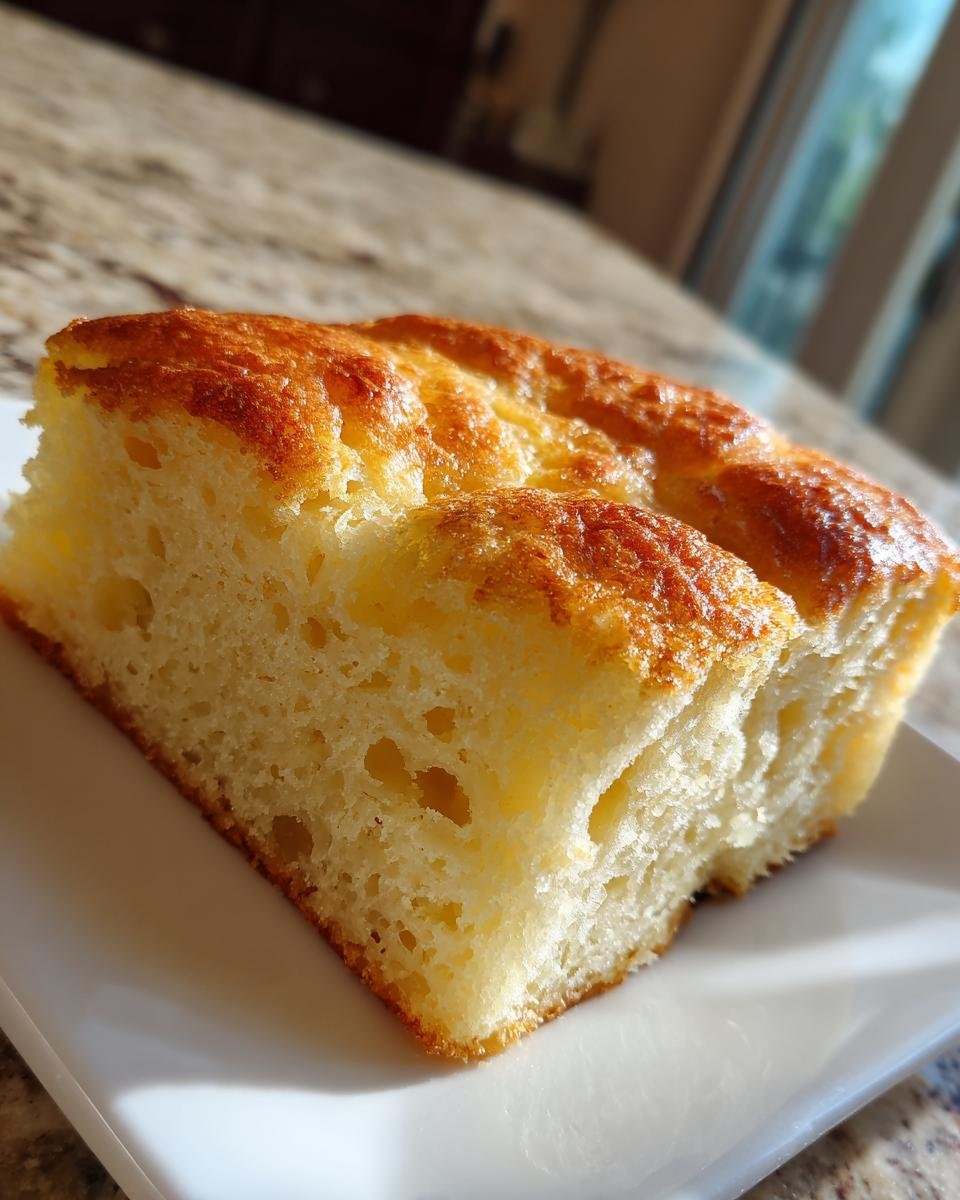
Pour that slightly lumpy batter evenly across your greased sheet pan. It will spread out into a nice, thick layer. Pop that pan onto the center rack and set a timer for about 12 minutes. The expected baking time is usually between 12 and 15 minutes, but ovens vary wildly, so watch it closely after the 12-minute mark. You’re looking for the edges to look nice and set, and for the top to look mostly dry and maybe lightly golden brown. The classic test is best: insert a toothpick right near the center of the **Sheet Pan Pancakes**. If it comes out clean or maybe with a couple of moist crumbs clinging to it, they are absolutely done! If it’s wet batter, give it two or three more minutes.
Creative Variations for Your Sheet Pan Pancakes
Now, the base recipe for these **Sheet Pan Pancakes** is fantastic all on its own—seriously, it’s perfect with just butter and syrup. But when you have a little extra time, or you just want to impress everyone, this is where you can really have some fun! Since the batter is so sturdy and bakes up so evenly, it’s the perfect canvas for adding things directly into the mix. Forget trying to fold chocolate chips into 20 tiny little portions; just dump them into the sheet pan batter!
The mix-ins are endless, but remember my golden rule: don’t add too many wet things! Dry mix-ins work best and are easiest to manage. My personal favorite variation is a total throwback to a great savory breakfast, but adapted for sweet. You should absolutely check out how I make bacon pancakes sometime, but for this baked version, try adding crispy, crumbled bacon bits right into the batter alongside some very lightly fresh blueberries. The salty crunch with the sweet berries is just unbelievable.
Here are a few easy ways to jazz up your next batch of baked pancakes:
- Classic Chocolate Chip: Use about one cup of mini chocolate chips. Toss them lightly with a tiny bit of flour before adding them to the batter—this stops them from all sinking to the bottom crust during baking.
- Fruit Lovers: Fresh or frozen blueberries work wonders! If you use frozen, don’t thaw them first; toss them with flour and drop them right on top of the batter *after* you pour it onto the pan. This prevents the blue color from bleeding everywhere.
- Lemon Poppy Seed Zing: Add two tablespoons of poppy seeds and the zest of one whole lemon to your dry ingredients. It gives a wonderful, bright flavor that feels so gourmet for such an easy breakfast.
- Cinnamon Swirl Surprise: Create a simple cinnamon-sugar topping (equal parts cinnamon and brown sugar, maybe a tablespoon of melted butter whisked in). Pour your batter onto the pan, then drizzle the cinnamon mixture over the top and use a knife to gently swirl it in.
No matter what you choose to add, remember to bake it just as long. The extra weight of toppings might mean you need that extra minute or two in the oven!
Serving Suggestions for Sheet Pan Pancakes
Since you just cut these **Sheet Pan Pancakes** into squares, serving them up buffet-style for a crowd is ridiculously easy. Forget trying to butter every single lukewarm round pancake. You just slide the pieces right onto plates! This method completely changes the dynamics of breakfast serving—it’s less fussy and way more fun.
You can set up a topping bar, which I highly recommend, especially if you have kids or picky eaters. It turns breakfast into an interactive event! Everyone gets exactly what they want on their own square, and you don’t have to worry about keeping 30 small pancakes warm simultaneously.
For a crowd, you still need the classics, of course. Warm maple syrup is mandatory, but make sure you have plenty of it! If you want to get fancy without much extra work, you can infuse your syrup. I love gently warming up some butter and brown sugar together until it melts into a rich sauce—it tastes amazing drizzled over these baked beauties. If you’re looking for a real flavor bomb that goes perfectly with this, you have to try my recipe for irresistible cinnamon brown sugar pancakes, which translates perfectly to a topping here!
Here are a few topping pairings that really shine next to these big, fluffy squares:
- The Simple Standard: Generous pads of real butter and pure maple syrup. You can’t go wrong!
- Whipped Cream Cloud: A heavy dollop of freshly whipped cream (sweetened with just a touch of vanilla) with fresh berries sliced over the top makes it feel decadent. Strawberries and blackberries are my go-to fruits here.
- Nutty Crunch: Toasted pecans or walnuts sprinkled over the top when they are hot. The heat helps them stick and brings out their natural oils.
- Peanut Butter Drizzle: Warm up a quarter cup of peanut butter with a tablespoon of milk in the microwave until it’s just pourable. Drizzle it over the top for some extra protein power!
Honestly, the best part is that because these pancakes are thicker and sturdier, they hold up beautifully to heavy toppings. Go ahead, pile that whipped cream high—your **Sheet Pan Pancakes** can handle it!
Storage and Reheating Sheet Pan Pancakes
Oh, believe me, there are usually no leftovers when I make a batch of these **Sheet Pan Pancakes**, but if you manage to resist eating the entire thing—good for you! These freeze and reheat like a dream, which makes them the absolute MVP for quick weekday breakfasts when you need something faster than microwaving oatmeal.
The key to success here is cutting them up *before* you put them away. Don’t try to store the whole slab! Once they have cooled completely—and I mean totally cool to the touch—you want to slice them into uniform squares. This way, you can grab just one or two squares at a time later on.
For the fridge, pop the cooled squares into an airtight container separated by wax paper or parchment sheets. This prevents sticking. They should last happily in the refrigerator for about three to four days. If you need them to last longer than that, you need to go straight to the freezer!
When freezing, layering with those parchment separators is even more crucial. Place the whole stack in a heavy-duty freezer bag and try to push out most of the air before sealing it up tight. They keep perfectly frozen for up to two months. Trust me, warming up a frozen square is so much better than making a whole new batch when you’re sleepy!
To reheat, the toaster oven or a regular oven is your best friend for restoring that slightly crisp edge. Preheat your oven or toaster oven to about 350 degrees Fahrenheit. Lay your squares directly on the baking sheet or put them on a foil-lined tray. Bake for about 5 to 8 minutes, or until they are piping hot all the way through. If you’re desperate, the microwave works in a pinch, but you have to watch it, or they get a little chewy. Give the microwave 20-30 seconds. Either way, they taste almost as good as fresh!
Frequently Asked Questions About Sheet Pan Pancakes
I get so many questions about these baked beauties! It’s natural—this method feels like cheating, so people want to make sure they aren’t missing some hidden catch. I’ve tried adjusting ingredients and pans a bunch of times, so I’m happy to share what works best for these **Sheet Pan Pancakes**.
Most people ask me about switching flours or how the texture really compares to those fluffy, griddled ones. Ask away! Here are the top questions I hear most often:
Can I use gluten-free flour for Sheet Pan Pancakes?
Yes, you certainly can! I’ve tested a couple of 1-to-1 gluten-free baking blends, and they work just fine here. Since this recipe is a bit sturdier than a super delicate regular pancake recipe, it handles the GF flours really well without getting too crumbly. Just make sure you’re using a brand designed to substitute 1:1 for all-purpose flour, and treat the batter gently when you are stirring it. You might notice they brown up slightly faster, so keep an eye on them in the oven after the 10-minute mark.
How do Sheet Pan Pancakes differ from regular pancakes?
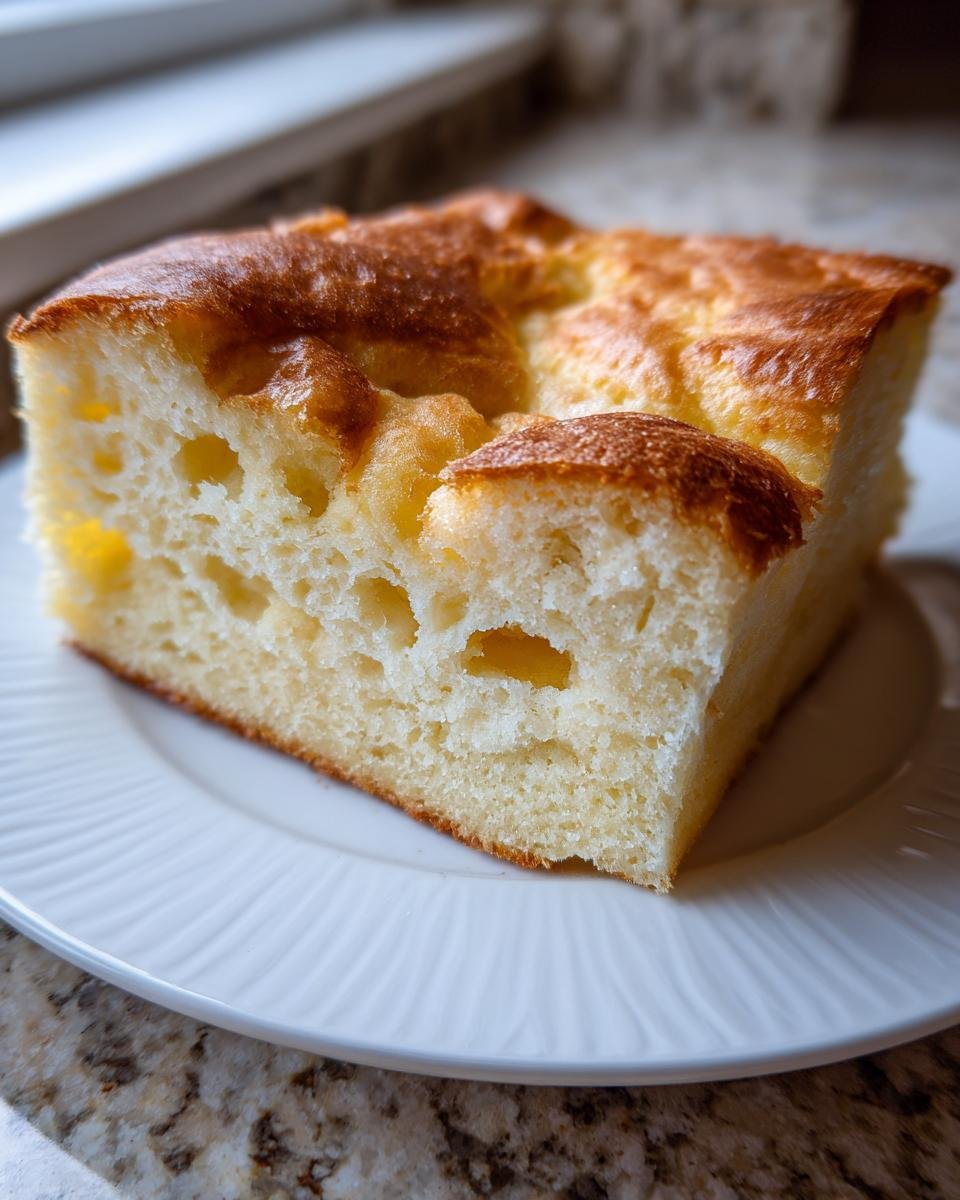
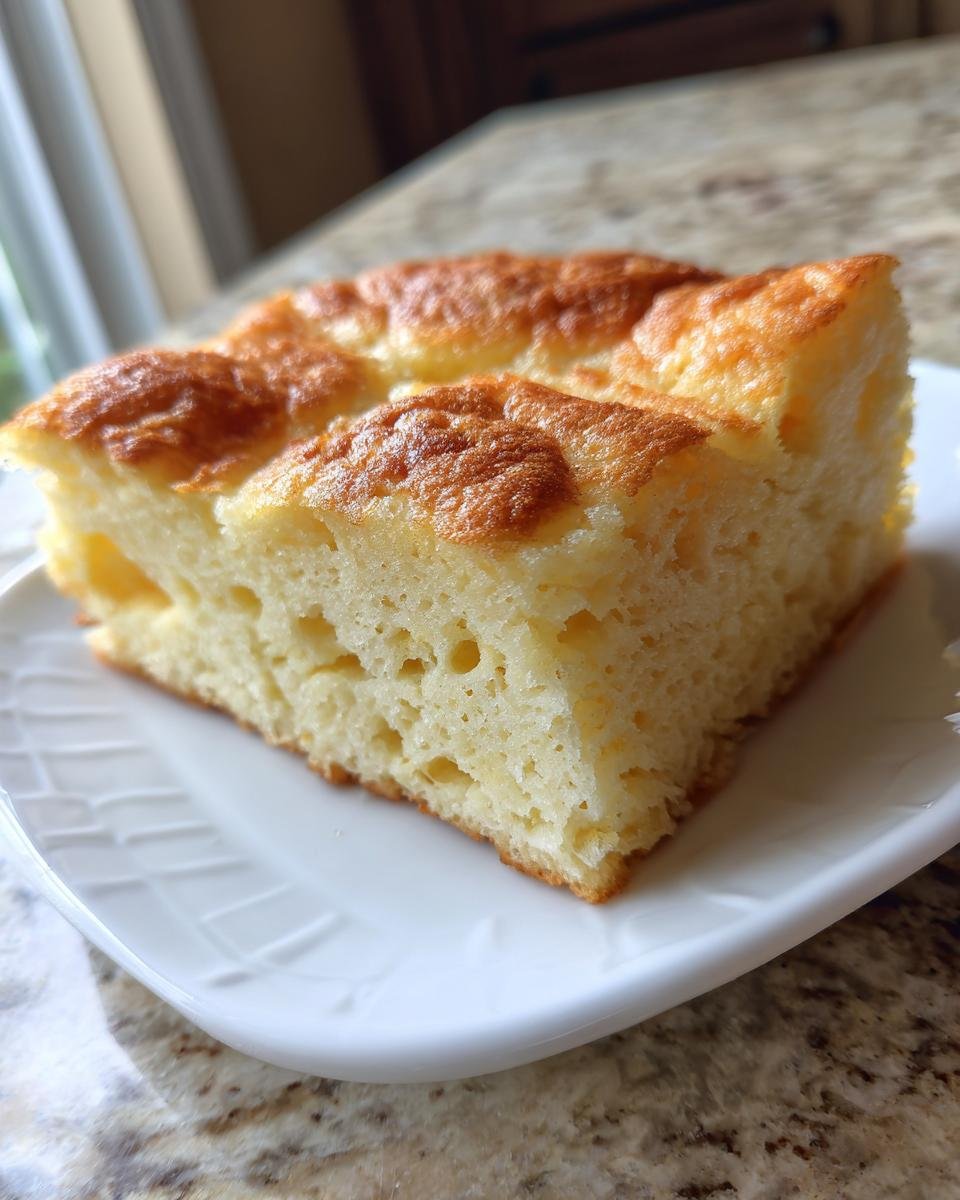
That’s the biggest difference! Regular pancakes you cook one by one on a griddle end up very light, airy, and tender—think bubbles and fluffiness. These **Sheet Pan Pancakes**, because they bake in a deep layer, are definitely denser. They come out with a texture that’s closer to a thick coffee cake or a fluffy baked slice. It’s less about being feather-light and more about being rich and satisfying. Plus, the biggest difference, of course, is the sheer ease of serving 12 people at once versus managing a hot griddle, which is why I keep my guide on regular pancake recipes handy for when I only need a small batch!
If you are wondering about the secret to getting the best flavor even in this baked format, remember it all comes down to fresh ingredients and not overmixing the batter!
Nutritional Estimate for Sheet Pan Pancakes
Okay, so while these **Sheet Pan Pancakes** are a fantastic, easy breakfast solution, I always feel like I should give you the heads-up on what’s coming along for the ride nutritionally. Since this makes a huge batch designed to be split into 12 squares, these numbers reflect just one serving. Remember, toppings dramatically change this, so think of this as the baseline for the plain pancake square itself!
These estimates are based strictly on the ingredients I listed above—the flour, sugar, eggs, milk, and butter. If you add a cup of chocolate chips or drown it in butter syrup, those numbers are going way up, obviously! Always treat these figures as a guideline for the baked base itself.
Here’s a quick look at what’s packed into each perfectly baked square:
- Serving Size: One square
- Calories: Approximately 220
- Total Fat: About 9 grams (and that includes 5 grams saturated fat—thank you, butter!)
- Carbohydrates: Around 30 grams
- Protein: A solid 7 grams, which is pretty good for a pancake!
- Sugar: About 4 grams (mostly from the added sugar and a little from the milk)
I try not to focus too much on the numbers when making weekend fun food, but it’s good to know where you stand! The fact that you can feed 12 people with one mix and one pan still feels like the best nutritional win to me—winning on time and sanity!
Print
Simple Sheet Pan Pancakes
- Total Time: 25 min
- Yield: 12 servings 1x
- Diet: Vegetarian
Description
Make a large batch of pancakes at once using a sheet pan for easy serving.
Ingredients
- 2 cups all-purpose flour
- 2 tablespoons sugar
- 4 teaspoons baking powder
- 1 teaspoon salt
- 2 large eggs
- 1 3/4 cups milk
- 1/2 cup melted butter
- 1 teaspoon vanilla extract
Instructions
- Preheat your oven to 400 degrees Fahrenheit (200 degrees Celsius). Lightly grease a standard 13×18 inch baking sheet.
- In a large bowl, whisk together the flour, sugar, baking powder, and salt.
- In a separate bowl, whisk the eggs, milk, melted butter, and vanilla extract.
- Pour the wet ingredients into the dry ingredients. Mix until just combined; do not overmix. A few lumps are fine.
- Pour the batter evenly onto the prepared baking sheet.
- Bake for 12 to 15 minutes, or until the edges are set and a toothpick inserted near the center comes out clean.
- Cut into squares and serve immediately with your favorite toppings.
Notes
- You can add blueberries or chocolate chips to the batter before baking if desired.
- Adjust baking time based on your oven; check for doneness early.
- Prep Time: 10 min
- Cook Time: 15 min
- Category: Breakfast
- Method: Baking
- Cuisine: American
Nutrition
- Serving Size: 1 square
- Calories: 220
- Sugar: 4
- Sodium: 250
- Fat: 9
- Saturated Fat: 5
- Unsaturated Fat: 4
- Trans Fat: 0
- Carbohydrates: 30
- Fiber: 1
- Protein: 7
- Cholesterol: 60
Keywords: sheet pan pancakes, easy breakfast, large batch pancakes, baked pancakes