
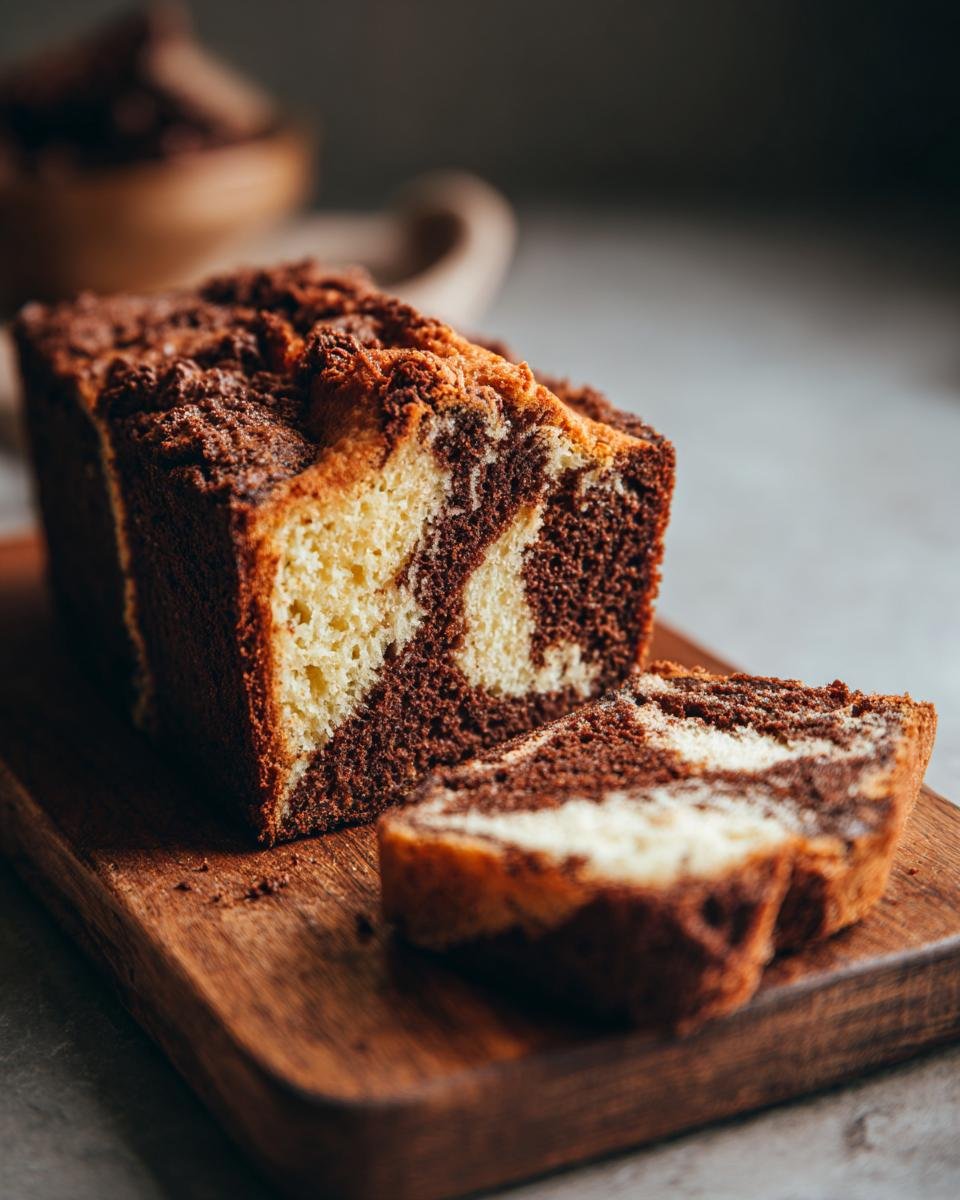
Oh, there’s just something so special about a cake made right in your own kitchen, isn’t there? It fills the whole house with this amazing aroma and just feels like a big hug. My absolute favorite for those cozy moments, or even just a Tuesday afternoon treat, has to be a classic Marble Cake. It’s got that gorgeous swirl of vanilla and chocolate that looks so fancy, but trust me, it’s secretly super easy to make! I remember making this with my mom when I was just a kid, and we’d always try to get the most dramatic swirls, sometimes ending up with batters all over our aprons. It’s a recipe that just never gets old.
Why You’ll Love This Marble Cake
Honestly, this Marble Cake is a winner for so many reasons! It looks like you slaved away for hours, but it’s actually a breeze to whip up. You’ll totally love:
- How incredibly easy it is – perfect for beginners or when you’re short on time!
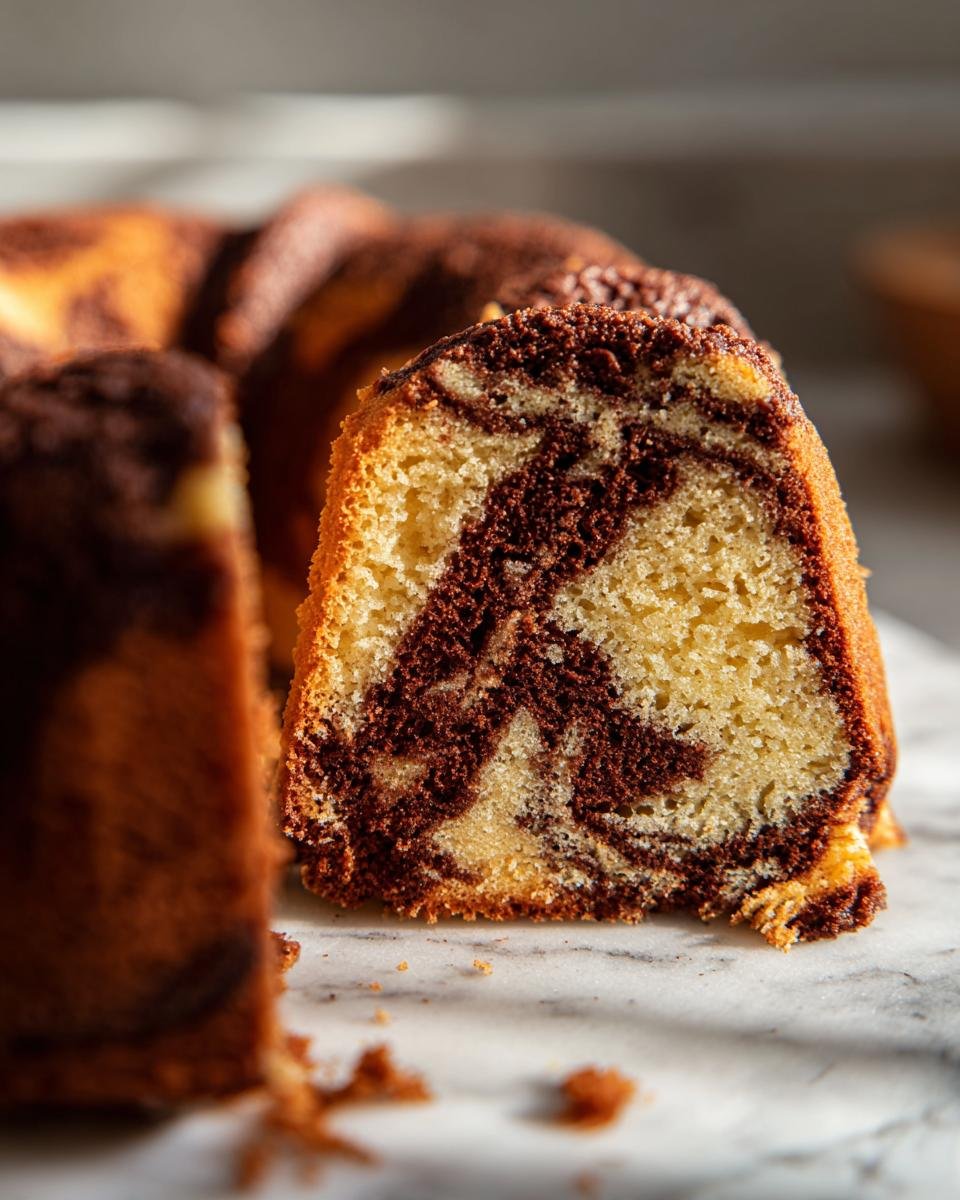
- That perfect balance of creamy vanilla and rich chocolate flavors in every single bite.
- The gorgeous marbled swirl that makes every slice a little work of art.
- That it’s super versatile which goes with almost anything!

Gather Your Ingredients for Marble Cake Perfection
Alright, time to get our ducks in a row! To make this amazing Marble Cake, you’ll need some everyday pantry staples, but the magic really happens when you have them ready to go. You’ll need:
- 2 cups all-purpose flour
- 1 1/2 cups granulated sugar
- 1 teaspoon baking powder (this gives it that lovely lift!)
- 1/2 teaspoon salt
- 1/2 cup unsalted butter, super soft (leave it out on the counter for a bit!)
- 2 large eggs
- 1 cup milk
- 1 teaspoon vanilla extract (good quality makes a difference!)
- 1/4 cup unsweetened cocoa powder (for that pure chocolate kick!)
- 2 tablespoons hot water (just a little to make a smooth paste with the cocoa)
Now, a little tip from my kitchen to yours: make sure that butter and those eggs are at room temperature. Seriously, it makes such a difference! When they’re soft, they blend into the batter so much better, creating that smooth, luscious texture we’re going for. It’s like they’re already friends before you even start mixing!
Essential Equipment for Baking Your Marble Cake
Okay, so you’ve got your ingredients ready, now let’s talk tools! Having the right stuff on hand makes baking this Marble Cake so much smoother. You’ll want a good:
- Mixing Bowls: I like to have at least two – one for dry stuff, one for wet.
- Whisk: Perfect for getting those dry ingredients all mixed up light and airy.
- Measuring Cups and Spoons: Accuracy is key here!
- A Sturdy Spoon or Spatula: For mixing and scraping down the sides of the bowl.
- A 9×5 inch Loaf Pan: This is pretty standard and what I use, but you could also use a round cake pan if you adjust the baking time.
- A Knife or Skewer: For that fun swirling technique and testing if it’s done!
Having these handy means you can just dive right into the baking fun without any fuss!
Step-by-Step Guide to Making Marble Cake
Alright, let’s get baking this gorgeous Marble Cake! It’s really not as complicated as it looks. Just follow along, and you’ll have a stunning cake that tastes as good as it looks. Remember those ingredients we gathered? It’s time to bring them all together. You’ve got this!
Preparing the Batter for Your Marble Cake
First things first, let’s get that oven preheated to 350°F (175°C) and give your loaf pan a good grease and flour. Trust me, this little bit of prep work stops any sticking drama later! In a big bowl, just whisk together your flour, sugar, baking powder, and salt until they’re all cozy. Then, toss in that softened butter and mix it ’til it looks like coarse crumbs – it’s almost like magic happening right in the bowl! In another bowl, give your eggs, milk, and vanilla a good whisk. Now, pour those wet ingredients into the dry, and mix ’em up until they’re *just* combined. Seriously, don’t overmix, or your cake will get tough! For the chocolate part, mix your cocoa powder with that hot water until you’ve got a smooth paste. Then, split your main batter in half, and stir that chocolatey goodness into one of the halves. Easy peasy!
Creating the Swirls: The Art of Marble Cake
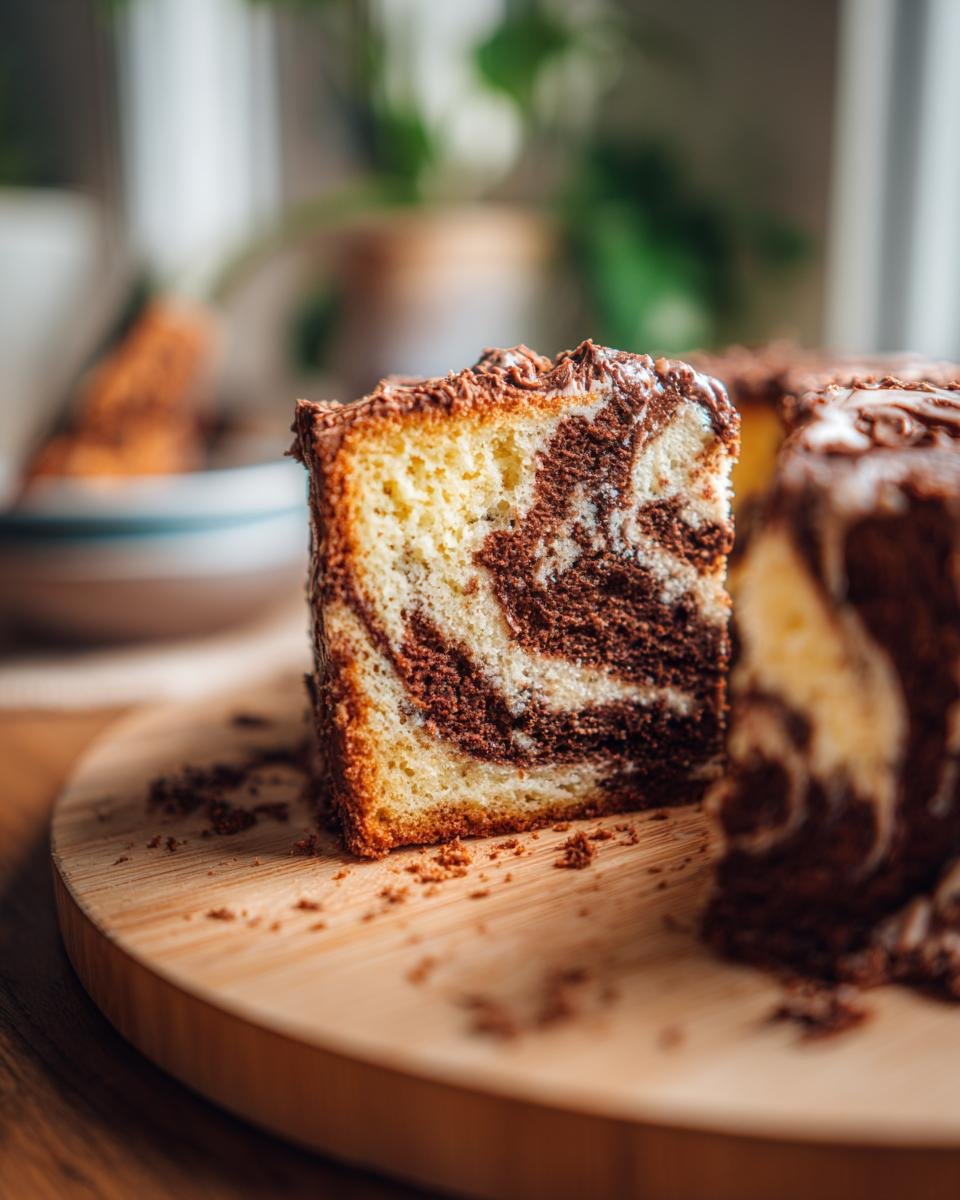
This is where the fun really begins! Grab your prepared loaf pan. Now, you’re going to spoon alternating dollops of your vanilla and chocolate batters into the pan. Don’t think too hard about placement, just plop them in wherever! Once it’s all in there, take a knife or even a skewer and gently swirl the batters together. You want to create those beautiful wavy patterns, but don’t go crazy! Over-swirling can make the colors blend too much and you lose that distinct marble look. Just a few gentle twists should do the trick – think of it as painting with batter!
Baking and Cooling Your Perfect Marble Cake
Pop that beautifully swirled pan into your preheated oven. It’ll need about 35-45 minutes. You’ll know it’s ready when a wooden skewer or toothpick plunged into the center comes out clean, with no wet batter clinging to it. That’s your signal it’s perfectly baked! Once it’s out of the oven, let it hang out in the pan for about 10 minutes. This little cooling period is important – it helps the cake firm up a bit and makes it easier to get out without breaking. After that, carefully flip it onto a wire rack to cool completely. Patience here is key for a perfect finish!
If you’re looking for more easy baking inspiration, these delicious quick bread recipes are fantastic!
Tips for the Best Marble Cake
Okay, so you’ve got the basic steps down, but let me share a few little secrets that really take your Marble Cake from good to absolutely phenomenal. These are the things I always do, and they make such a difference in getting that perfect texture and beautiful swirl every single time.
First off, quality ingredients matter! Use good vanilla extract – you can really taste the difference. And for the chocolate part, good unsweetened cocoa powder is your best friend. Don’t be tempted to overmix the batter once you add the flour; that’s how cakes get tough and gummy, and we definitely don’t want that. Just mix until you barely see streaks of flour. Also, when you’re swirling, be gentle! Too much swirling just makes everything muddy brown instead of a pretty pattern.
If you’re curious about other easy baking wonders, you might want to check out these homemade blender cake recipes. They are surprisingly simple and use your blender to do a lot of the work!
Ingredient Notes and Substitutions for Marble Cake
So, you might be wondering about some of the ingredients in this glorious Marble Cake. Let’s chat about them for a sec! The recipe calls for all-purpose flour, which is super reliable. If you’re looking to go gluten-free, you can usually swap it out for a good 1-to-1 gluten-free baking blend, but just know the texture might be a *tiny* bit different. For the milk, any kind will work – whole milk gives the richest result, but skim, soy, almond, or oat milk are totally fine too. The main thing is to make sure your butter and eggs are nice and soft (room temp!), because that really helps everything blend together smoothly for that perfect cake texture we love.
Serving Suggestions for Your Marble Cake
This Marble Cake is beautiful just on its own, but there are so many ways to make it extra special for any occasion! For a classic, simple look that lets the swirls shine, a light dusting of powdered sugar is always perfect. You could also whip up a quick glaze – maybe a simple vanilla or a slightly tangy cream cheese glaze if you’re feeling fancy. Honestly, though, who doesn’t love cake with a scoop of creamy vanilla ice cream? Or, tuck a slice next to some fresh berries for a pop of color and freshness. It’s seriously delicious no matter how you serve it!
If you’re looking for more cake inspiration, this pineapple pecan cream cheese pound cake is another stunner!
Storage and Reheating Instructions for Marble Cake
Got some leftover Marble Cake? Lucky you! To keep it tasting fresh and delicious, just wrap it up snugly in plastic wrap and then pop it into an airtight container. It’s best kept at room temperature for about 2-3 days. If it’s a really warm day or you want it to last a bit longer, the fridge works too, but sometimes that can dry it out a bit. To reheat a slice, just give it a quick zap in the microwave for about 10-15 seconds – just enough to take the chill off!
Frequently Asked Questions About Marble Cake
Got some burning questions about whipping up this Marble Cake? I get it! Baking is fun, but sometimes little things can pop up. Here are some common ones I get, and my best advice!
Why did my marble swirl disappear or look muddy?
Oh, this happens! Usually, it means you swirled the batters a little too much. When you go over it too many times with the knife, the colors start to blend together and lose their definition. Next time, swirl just a few times – aim for elegance, not exhaustion!
Can I make this Marble Cake gluten-free?
You totally can! I’ve had good luck using a good quality 1-to-1 gluten-free baking flour blend instead of the all-purpose flour. Just be aware that the texture might be a little different, maybe a bit denser or crumblier depending on the blend you use. It’s still delicious, though!
My cake is a bit dry. What went wrong?
A dry cake is no fun! This usually happens from overmixing the batter after the flour goes in, or baking it for too long. Remember, just mix until everything is *barely* combined. Also, start checking for doneness around the 35-minute mark. Every oven is a little different!
Can I use this recipe for cupcakes?
Yes, you absolutely can! Just fill your cupcake liners about two-thirds full and swirl your batters. They’ll bake much faster, probably around 15-20 minutes, so keep an eye on them. They make for super cute little treats!
Estimated Nutritional Information for Marble Cake
Just a heads-up, the nutritional info for homemade goodies can bounce around a bit depending on exactly what you put in! But for a slice of this lovely Marble Cake, you’re generally looking at around 250 calories. You’ll also find about 12g of fat, 35g of carbs, and 3g of protein. It’s a pretty reasonable slice of deliciousness!
Print
Marble Cake
- Total Time: 60 min
- Yield: 10 servings 1x
- Diet: Vegetarian
Description
A classic marble cake with swirls of vanilla and chocolate.
Ingredients
- 2 cups all-purpose flour
- 1 1/2 cups granulated sugar
- 1 teaspoon baking powder
- 1/2 teaspoon salt
- 1/2 cup unsalted butter, softened
- 2 large eggs
- 1 cup milk
- 1 teaspoon vanilla extract
- 1/4 cup unsweetened cocoa powder
- 2 tablespoons hot water
Instructions
- Preheat your oven to 350°F (175°C). Grease and flour a 9×5 inch loaf pan.
- In a large bowl, whisk together the flour, sugar, baking powder, and salt.
- Add the softened butter and mix until the mixture resembles coarse crumbs.
- In a separate bowl, whisk together the eggs, milk, and vanilla extract.
- Gradually add the wet ingredients to the dry ingredients, mixing until just combined. Do not overmix.
- In a small bowl, combine the cocoa powder and hot water to form a smooth paste.
- Divide the cake batter in half. Stir the cocoa paste into one half of the batter until evenly combined.
- Spoon alternating dollops of vanilla and chocolate batter into the prepared loaf pan.
- Gently swirl the batters together with a knife or skewer to create a marble effect.
- Bake for 35-45 minutes, or until a wooden skewer inserted into the center comes out clean.
- Let the cake cool in the pan for 10 minutes before inverting it onto a wire rack to cool completely.
Notes
- For a richer chocolate flavor, you can add an extra tablespoon of cocoa powder to the chocolate batter.
- Ensure your butter and eggs are at room temperature for best results.
- Prep Time: 20 min
- Cook Time: 40 min
- Category: Dessert
- Method: Baking
- Cuisine: American
Nutrition
- Serving Size: 1 slice
- Calories: 250
- Sugar: 25g
- Sodium: 150mg
- Fat: 12g
- Saturated Fat: 7g
- Unsaturated Fat: 5g
- Trans Fat: 0g
- Carbohydrates: 35g
- Fiber: 1g
- Protein: 3g
- Cholesterol: 50mg
Keywords: marble cake, chocolate cake, vanilla cake, swirled cake, homemade cake, dessert recipe