
You know that moment? That time when you are absolutely craving takeout—that perfect combination of sweet, tangy, and crunchy—but you just can’t bring yourself to pick up the phone or face traffic? I get it! That’s how I perfected this Chinese Lemon Chicken recipe. Forget those soggy, weak versions you sometimes get delivered; my goal was to capture that intense citrus punch and that unmistakable *craveable* crispiness right here in my own kitchen.
This isn’t just another recipe; it’s my solution for beating those takeout cravings instantly. The magic of this specific Chinese Lemon Chicken is how easy it is to get the coating shatteringly crisp, even under that beautiful, vibrant lemon sauce. I spent ages tweaking the batter composition until it rivaled any restaurant experience. Trust me, once you see how bright and tangy that sauce comes together in just minutes, you’ll ditch the delivery menu for good!

Why This Chinese Lemon Chicken Recipe is Your New Favorite
- The secret is in the coating – we use a double layer of dry ingredients ensuring that crispy, light texture that holds up even after saucing.
- The lemon sauce comes together faster than you can find your keys! It’s bright, perfectly balanced, and never gloopy. I love how quickly it thickens up.
- You get that authentic takeout flavor without the uncertainty—this recipe is true to the classic sweet-and-sour profile, only brighter! If you love this bright flavor, you’ve got to check out my recipe for sweet and sour chicken next time.
Honestly, it’s the combination of crunch and that zingy lemon that pulls me back to this dish every week. It’s just pure joy in a bowl!
Essential Ingredients for Perfect Chinese Lemon Chicken
Okay, let’s talk ingredients because this is where the magic really starts. For the chicken itself, you need about two large chicken breasts cut into nice, manageable bite-sized pieces. I usually use kitchen shears for this; it’s so much cleaner!
For that crisp coating, we’re using 1/2 cup of all-purpose flour, 1/4 cup of cornstarch, plus just a tiny bit of salt and pepper. Don’t forget the egg—that’s what helps the coating really stick! You’ll need enough vegetable oil to cover about an inch in your pan for frying.
Now, the sauce is where you win or lose, so listen up: You must use fresh lemon juice here. Don’t even think about those little plastic lemons! We need 1/2 cup of fresh juice, 1 cup of granulated sugar, 1/4 cup of water, and 1 tablespoon of zest for that real bright flavor. If you want another tangy hit in your life, you absolutely have to try my lemon garlic tilapia soon. Finally, the thickener: one teaspoon of cornstarch mixed with just two teaspoons of cold water—that’s your slurry, and it’s key to getting the sauce right without lumps!
Step-by-Step Instructions for Crispy Chinese Lemon Chicken
Alright, this is the main event! Getting that perfect crunch takes a little timing, but honestly, it’s straightforward. We are going to tackle the chicken first, get it crispy, and then jump straight into that vibrant lemon sauce. If you want the absolute best crunch—and I mean restaurant-level shattering crisp—pay close attention to the frying step, because I’m sharing Grandma’s secret!
We start with coating the chicken and getting the oil hot. Remember, you want about an inch of vegetable oil in your skillet, heated to 350°F (175°C). Don’t guess the temp; use a thermometer! If it’s too cold, the chicken gets greasy. I’ve got a whole post about getting crispy coatings right like those in my crispy chicken tenders recipe!
Preparing the Chicken Coating and Frying
First things first, get your dredging station set up! Mix that flour, cornstarch, salt, and pepper. Toss your chicken pieces until they are nicely coated in that dry mix. Shake off the excess—seriously, shake it! Then, dip them into that beaten egg. Let the extra drip off before lowering them carefully into the hot oil in batches. We fry for about 4 to 6 minutes until they are golden brown all over. Now, here’s the secret: if you want insane crispiness, pull them out when they are light gold, let them rest on paper towels for five minutes, and then throw them back in for another minute or two until they are deep golden brown!
Making the Tangy Lemon Sauce for Chinese Lemon Chicken
While the chicken rests (or after your first batch comes out), turn your attention to the saucepan. Combine your sugar, fresh lemon juice, water, and zest. Bring that mixture to a gentle simmer, stirring until every single grain of sugar has completely dissolved. This is important—if you have sugar crystals, your sauce won’t be smooth! Once it’s clear, whisk in that cornstarch slurry (the cornstarch mixed with cold water). Keep stirring constantly! You only need about a minute; the sauce will thicken up quickly, turning glossy and perfect.
Combining and Serving Your Chinese Lemon Chicken
Once the sauce is thickened slightly and the chicken is perfectly crunchy, it’s time for the finale. Drop that freshly fried chicken right back into the skillet with the lemon sauce. You need to toss it really gently—just enough to coat every crispy piece with that bright, tangy glaze. Don’t over-mix or you’ll drown the crunch! This dish sings when it’s hot, so plate it up right away over some fluffy rice and enjoy that perfect taste of home.

Tips for Achieving the Best Chinese Lemon Chicken Texture
Getting that shatteringly crisp coating on your Chinese Lemon Chicken isn’t luck; it’s all about honoring the science behind the crunch! I know it seems like just tossing chicken in flour, but paying attention to a couple of details makes the world of difference between good and absolutely unforgettable.
First up, let’s talk oil temperature consistency. If your oil is too cool, the coating soaks it up like a sponge, and you end up with heavy, greasy pieces instead of light crispness. If it’s too hot, the coating burns before the chicken inside even warms up. That 350°F (175°C) mark is your sweet spot. I keep my thermometer in the oil the whole time I’m frying; it’s a must-do for me, especially when I’m doing multiple batches!
The coating mixture itself needs to be balanced right. We use a higher ratio of cornstarch to flour, and that’s intentional! Cornstarch is what gives you that extra light, airy crunch that contrasts so beautifully with the thick, syrupy lemon sauce. Don’t skip measuring that cornstarch carefully. A little extra dry coating ensures the egg wash is fully absorbed, creating a final shell that laughs in the face of moisture.
And listen, if you want to take your crispiness to the next level, you HAVE to try the double-fry method I mentioned earlier. It might seem like extra work, but that second, shorter fry in very hot oil just locks in the texture and makes the chicken nearly impervious to sauce sogginess. It’s how they do it at the best places!
For more crazy-good frying secrets that apply everywhere—from this dish to my famous beer-battered fried chicken—always make sure your chicken pieces are dry before they hit that first coating. Any surface moisture fights against your flour and cornstarch mix!
Ingredient Notes and Substitutions for Chinese Lemon Chicken
So, let’s talk real life. Sometimes we don’t have everything on hand, or maybe we need to adjust things. I firmly believe that fresh lemon juice is non-negotiable for the very best flavor here—that brightness is what makes this Chinese Lemon Chicken what it is. However, if you are in a terrible pinch, you *could* use bottled lemon juice, but you need to be cautious. If you do, I’d bump up the lemon zest by half a teaspoon because bottled juice loses that sharp, fragrant punch.
For the frying oil, this is important: We need a neutral oil with a high smoke point. Vegetable oil is my go-to because it’s inexpensive and doesn’t impart much flavor. Canola oil works absolutely perfectly too. Please, please, please avoid olive oil or anything that has a low smoke point, or you’ll end up with a smoky kitchen and burnt bits instead of crispy chicken!
What about sugar? My recipe calls for a full cup of granulated sugar, which sounds like a lot, but remember, we have to balance out all that tart lemon! If you want to slightly temper the sweetness, you could swap out half of the white sugar for light brown sugar. It adds a lovely hint of molasses, which pairs surprisingly well with the fried texture. It’s a subtle change, but if you try it, let me know what you think!
If you’re running low on chicken, this recipe scales down beautifully. Just keep the ratios of your dry coating and the sauce the same relative to the chicken, and you’ll be golden. It’s a very forgiving recipe once you understand the coating-to-sauce ratio!
Serving Suggestions for Your Chinese Lemon Chicken
So you’ve got this gorgeous, bright, crispy plate of Chinese Lemon Chicken sitting there, and now you need the perfect partners to make it a complete meal, right? That tangy sauce is so powerful and delicious, you need something simple underneath to soak it all up. Otherwise, that beautiful glaze just ends up pooling sadly at the bottom of your bowl!
My very first suggestion, always, is steamed white rice. It’s the classic pairing for a reason! The mild, fluffy rice doesn’t compete with the bold lemon flavor at all; it just acts as the perfect little sponge for the sauce. I steam mine for precisely 18 minutes without disturbing it, and it comes out light and separates perfectly when you fluff it with a fork.
If you want something a little more substantial on the side that still keeps that Asian flavor profile going, you can’t look past some lightly seasoned steamed or flash-sautéed vegetables. Think crisp-tender broccoli florets, snap peas, or sautéed bok choy tossed with just a dash of sesame oil and maybe a tiny whisper of garlic. You want them bright green and crunchy—nothing mushy!
Honestly, the best side dish I ever make when I whip up this Chinese Lemon Chicken is actually my savory chicken fried rice, but I leave the chicken out of the rice since it’s the star on the plate! That way, you get great texture and flavor in every component, and dinner feels truly spectacular.
Remember, since the chicken is rich, keep your sides light and fresh. It lets that marvelous lemon sauce really shine!
Storage and Reheating Instructions for Leftover Chinese Lemon Chicken
Oh, leftovers! If you manage to have any of this amazing Chinese Lemon Chicken left over, you’re in for a treat, though I have to give you a little heads-up right away: the crispness is going to take a vacation in the fridge.
That beautiful, shatteringly crisp coating we worked so hard on? It gets a little soft once it’s sitting in that sweet, tangy lemon sauce overnight. That’s just the nature of wonderfully sauced fried food, honey! But don’t panic; we can bring most of that texture back!
The most important rule here is *no microwave*. Ever! Microwaving sauced anything generally results in a weird, rubbery texture, and we just can’t do that to our beautiful chicken. We need dry heat to revive that crust.
My absolute top recommendation for reheating is the oven or, even better, your air fryer if you have one. Preheat your oven to about 350°F (175°C). Spread the leftover chicken pieces out in a single layer on a baking sheet. You want them separated so the air can circulate, which helps dry out that surface moisture that crept in overnight.
Let them bake for about 8 to 10 minutes. If you’re using an air fryer, it’s even quicker—maybe 5 minutes at 375°F (190°C). Keep an eye on it, though! You want them hot all the way through and slightly firmer on the outside. They won’t be *exactly* as crisp as when they were first made, but honestly, this method gets you 90% of the way there, and that bright lemon sauce still tastes incredible!
Store sealed leftovers in the fridge for up to three days. Make sure the container is airtight, though. If the sauce is really heavy on there, you might want to gently blot off a little excess sauce before reheating just to encourage that crunch to come back faster!
Frequently Asked Questions About Chinese Lemon Chicken
I get so many wonderful emails asking about tweaks and tricks for this Chinese Lemon Chicken recipe, so I thought I’d put the most common questions right here so everyone can see them! Honestly, once you master the coating and that tangy lemon sauce, you unlock a whole new world of easy weeknight dinners.
Can I make the lemon sauce ahead of time?
Yes, sweetie, you absolutely can! This is wonderful for busy weeknights. You can whip up the entire lemon sauce mixture, following instructions up until adding the slurry, and keep it sealed tight in the fridge for up to three days. When you’re ready to serve, just reheat the sauce slowly in a small pan until it simmers, whisk in your cornstarch slurry as directed, and let it thicken. It might look a little weird when you first take it out of the fridge, but trust me, a little whisking over low heat brings it right back to life!
How can I make the Chinese Lemon Chicken healthier?
I totally get wanting that flavor without all the glorious fried goodness sometimes! If you want to skip the deep frying for a healthier version, you have two excellent choices. My first suggestion is to skip the oil and bake the coated chicken. Toss the coated pieces lightly with a little spray of oil, say about half a teaspoon per batch, and bake them on a rack over a sheet pan at 400°F (200°C) until they are cooked through—usually about 15 to 20 minutes. Flip them halfway!
However, if you have an air fryer, that’s even better for achieving a crispy chicken texture! Air fry in small batches around 375°F (190°C) for about 10–12 minutes, shaking the basket halfway through. Once they are cooked, you toss them in that fantastic lemon sauce just like the recipe calls for. It won’t be *as* rich, but it is still delicious and much lighter on the fat!
Do you know what else helps make a meal lighter overall? Pairing it with simple veggies. I often serve my air-fried version alongside some sautéed peppers and onions, maybe checking out my recipe for a chicken stir-fry inspiration for how to balance out the plate!
How long should the oil be for frying to ensure the chicken stays super crispy?
Listen, this is where most people lose the battle against soggy coatings! You absolutely need that oil to hit 350°F (175°C). If you drop the chicken in and the oil doesn’t bubble around it immediately and vigorously, it’s too cold. The rapid heat seals the coating immediately, keeping the texture light and wonderfully crispy, not heavy. Don’t let that temperature drop too low between batches, either. If you’re frying a lot of chicken, let the oil recover its heat before you drop in the next batch!
Why do you use both flour and cornstarch for the coating?
That combination is my secret sauce for texture on these little crispy bites! Flour gives you the body and structure for the coating, making sure it clings well to the egg. But the cornstarch? That’s what gives you that super light, almost airy crunch that stays crisp longer. If you skip the cornstarch, the coating often turns out doughy or heavy. The blend is what delivers that signature crunch you want in great Chinese Lemon Chicken!
Estimated Nutritional Information for Chinese Lemon Chicken
Now, before we wrap up, I always feel like I should give you a little heads-up about the numbers. When you’re frying chicken and making a sauce with a full cup of sugar, you know it’s going to be decadent, right? These figures are just estimates based on using the amounts listed in the recipe for four standard servings. But hey, this is homemade Chinese Lemon Chicken—it’s meant to be enjoyed fully!
I always compare the nutrition label of homemade food to restaurant versions—and ours beats theirs usually on sodium, which is a win! That said, because we are deep frying, the fat content is naturally higher than if you baked it. If you followed my advice and baked or air-fried it, your numbers would look significantly different, especially for the fat content.
Here’s what you can generally expect per serving based on this specific recipe:
- Serving Size: 1 serving
- Calories: Around 450 calories
- Sugar: This is the sweet spot—about 35g (thanks to that wonderful lemon sauce!)
- Fat: Pretty standard for fried chicken, around 18g total fat, with only about 3g of that being saturated fat.
- Protein: A great boost for muscles at 30g.
- Carbohydrates: About 40g, mostly coming from the coating and the sauce ingredients.
Think of this as a treat dinner! If you’re looking for something lighter, definitely check out the healthier options I mentioned in the FAQ section. But for that perfect, crispy, glorious indulgence, these numbers reflect exactly what you’re getting when you make my Chinese Lemon Chicken!
Print
Chinese Lemon Chicken
- Total Time: 45 min
- Yield: 4 servings 1x
- Diet: Low Fat
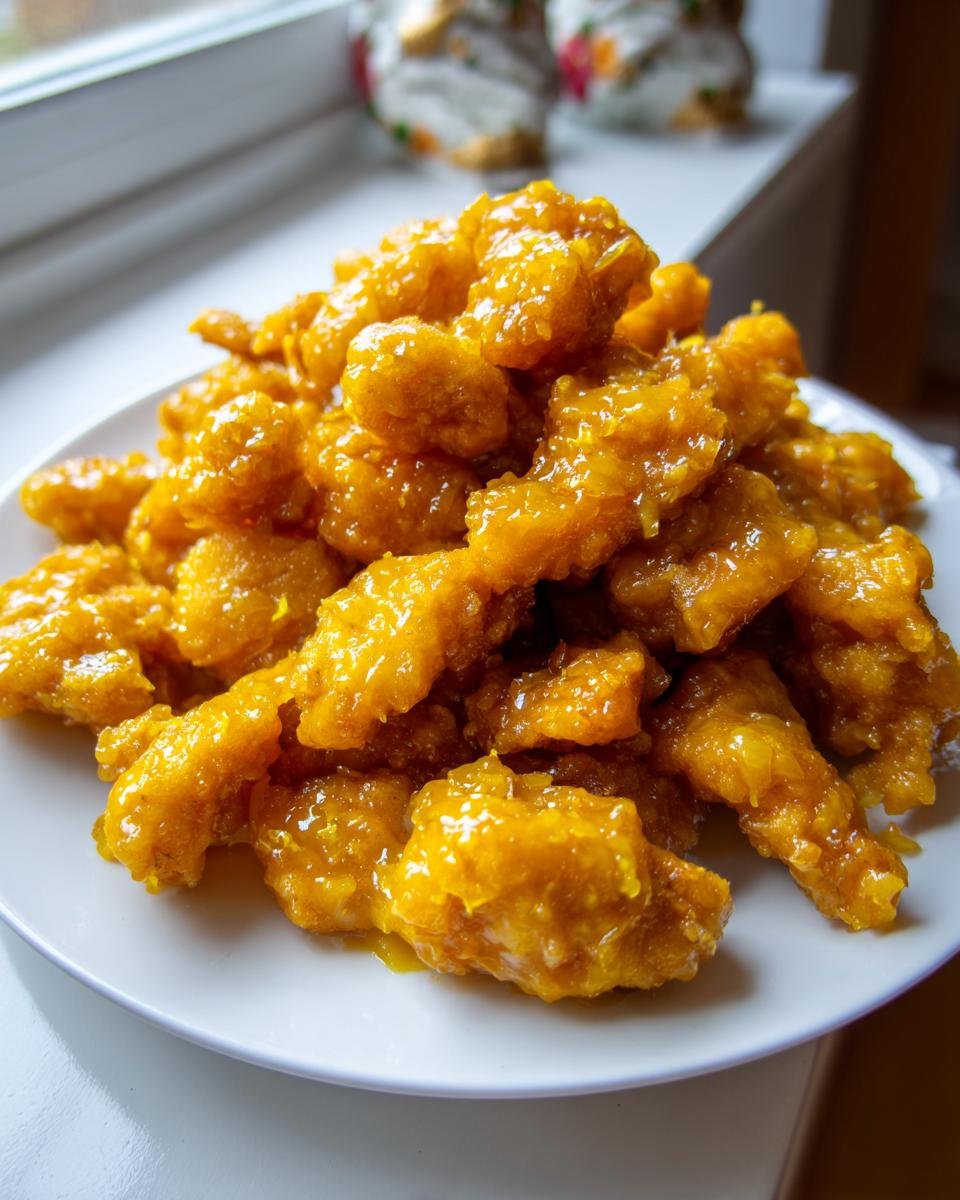
Description
A recipe for crispy fried chicken coated in a sweet and tangy lemon sauce.
Ingredients
- 2 large chicken breasts, cut into bite-sized pieces
- 1/2 cup all-purpose flour
- 1/4 cup cornstarch
- 1/2 teaspoon salt
- 1/4 teaspoon black pepper
- 1 large egg, beaten
- Vegetable oil, for frying
- 1 cup granulated sugar
- 1/2 cup fresh lemon juice
- 1/4 cup water
- 1 tablespoon lemon zest
- 1 teaspoon cornstarch mixed with 2 teaspoons cold water (slurry)
Instructions
- In a medium bowl, combine the flour, 1/4 cup cornstarch, salt, and pepper. Toss the chicken pieces in this mixture until coated.
- Dip the coated chicken pieces into the beaten egg, letting excess drip off.
- Heat about 1 inch of vegetable oil in a large skillet over medium-high heat to 350°F (175°C).
- Fry the chicken in batches until golden brown and cooked through, about 4-6 minutes per batch. Remove chicken and drain on paper towels.
- In a small saucepan, combine the sugar, lemon juice, water, and lemon zest. Bring to a simmer over medium heat, stirring until the sugar dissolves.
- Whisk in the cornstarch slurry and cook, stirring constantly, until the sauce thickens slightly, about 1 minute.
- Return the cooked chicken to the skillet and toss gently to coat evenly with the lemon sauce.
- Serve immediately.
Notes
- For extra crispiness, you can double-fry the chicken: fry once until light golden, remove, let rest for 5 minutes, then fry again until deep golden brown.
- Use fresh lemon juice for the best flavor in the sauce.
- Prep Time: 20 min
- Cook Time: 25 min
- Category: Main Course
- Method: Frying
- Cuisine: Chinese
Nutrition
- Serving Size: 1 serving
- Calories: 450
- Sugar: 35
- Sodium: 350
- Fat: 18
- Saturated Fat: 3
- Unsaturated Fat: 15
- Trans Fat: 0
- Carbohydrates: 40
- Fiber: 1
- Protein: 30
- Cholesterol: 100
Keywords: Chinese Lemon Chicken, lemon sauce, crispy chicken, sweet and sour chicken, Asian recipe