
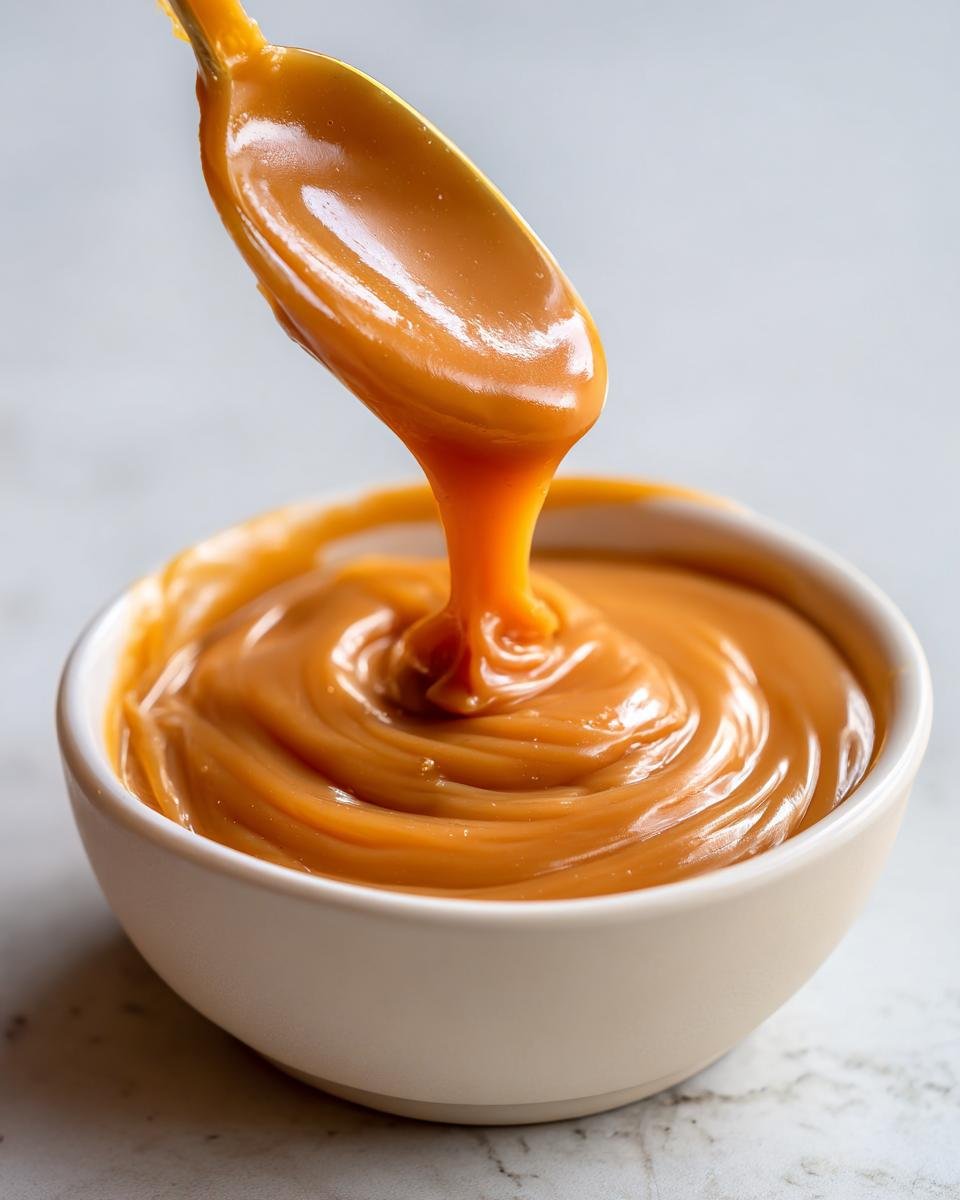
Honestly, there are few things in life that can silence a room faster than the smell of perfectly cooked sugar turning into golden syrup. Store-bought stuff just doesn’t cut it when you need that deep, rich flavor. I am telling you right now, this recipe produces the absolute simplest, smoothest **Caramel Dip** you will ever need—it’s liquid gold! I’m not kidding; last year when our dessert plans went completely sideways minutes before guests arrived, this dip saved the entire evening poured over some sad-looking vanilla ice cream.
Forget worrying about complicated candy thermometers! We’re keeping it incredibly straightforward here. You only use five ingredients and you’re looking at less than 20 minutes until you’re dipping something delicious. If you value flavor and speed, get ready to fall in love with making your own sweet dip from scratch.

Why This Homemade Caramel Dip Recipe Works So Well
When I share this recipe, people are always shocked by how little effort is involved for such a big payoff. Seriously, this isn’t some fussy gourmet sauce; it’s actually kitchen magic made easy. I trust this recipe completely, and I know you can too! If you’re looking to level up your dipping game, you need this recipe. It’s the secret weapon I often turn to, just like I rely on my recipe for brown sugar vanilla pound cake.
- It’s shockingly fast, which means less time hovering over the stove and more time eating it!
- The ratio of ingredients is spot-on, leading to that perfect, rich flavor without tasting burnt or sugary.
- If you follow the dairy off-heat rule, you avoid the dreaded crunchiness that ruins so many homemade caramel attempts.
Speed and Simplicity of the Caramel Dip
Can you believe the whole process clocks in under 20 minutes total? Prep is barely five minutes because you’re just measuring things out. The actual cooking is quick, especially the caramel step, which is the most crucial part. It moves fast once you get to the amber stage, so have your cream ready to go. This makes it perfect for a weeknight fix when you need something sweet right now!
Texture Guarantee: Smooth Caramel Dip Every Time
This is the secret sauce, literally. The magic happens when you pull the bubbling sugar off the heat *before* adding the heavy cream. If you add cream while it’s still boiling hard on the burner, you shock the sugar and it seizes up into hard little pebbles—nobody wants that! By adding the dairy smoothly after taking it off the flame, you ensure every batch of this Caramel Dip is flowing perfectly. Trust me, this one technique makes all the difference for a smooth dip that coats apples beautifully.
Essential Ingredients for Perfect Caramel Dip
When you are making something this simple, every single ingredient screams its importance! You can’t hide low-quality stuff in here, so we have to treat these five items like gold. Have everything measured out and ready to go before you even think about turning on the stove. If you’re curious about other simple delights, I use similarly high-quality ingredients when whipping up my pumpkin spice cookies.
Here’s what you need right on your counter:
- 1 cup granulated sugar (Just plain white sugar—that’s what we want for the caramelization!)
- 1/2 cup heavy cream (Needs to be heavy, folks, don’t skimp!)
- 1/4 cup unsalted butter, cut into small cubes (Cubing it helps it melt evenly later.)
- 1 teaspoon vanilla extract (This brightens everything up.)
- 1/4 teaspoon salt (Crucial! It keeps the sweetness from being overwhelming.)
Ingredient Breakdown and Quality Tips
We need that heavy cream because its fat content is what gives us that wonderfully luxurious mouthfeel once everything is combined. If you use half-and-half or regular milk, your dip will be too thin and just won’t coat things right. Similarly, unsalted butter is a must.
Since we add the salt separately, using unsalted butter gives me complete control over the final sodium level. I don’t want any surprises! Good quality butter makes the difference between a decent dip and one that tastes like it came straight from a fancy candy shop. Stick to these rules, and your Caramel Dip will be fantastic.
Step-by-Step Instructions for Making Caramel Dip
Okay, this is where we get serious, but don’t let the word ‘caramelize’ scare you! This process is straightforward if you just pay attention for those few minutes. Rushing sugar is usually a recipe for disaster, so just take a deep breath. If you want results as reliably rich as my pecan pie brownies, you have to focus during the cooking part!
First, just grab your medium saucepan. We are combining the sugar with just two tablespoons of water over medium heat. You need to keep stirring gently until you see that sugar completely disappear and the mixture is totally clear. Then, stop stirring right away! I mean it, hands off the spoon!
Melting the Sugar: Achieving Amber Color
This is the dramatic part! Once the stirring stops, you just let it bubble away. You are watching for that color transformation. It goes from clear to pale yellow, then quickly to a deep, beautiful amber color—think rich, dark honey. This usually takes about 8 to 10 minutes total, but watch it like a hawk after minute six!
If you see even one tiny dark spot creeping in, pull it immediately, because burnt sugar tastes bitter and you can’t fix it! We want that deep, complex flavor, not ash, so be ready to move fast.
Incorporating Dairy and Fats for Smooth Caramel Dip
The second that amber color hits, yank that pan right off the hot burner—seriously, take it off the heat source! Now, slowly and carefully pour in your heavy cream. Be warned: this stuff is dramatic! It’s going to bubble up violently, spitting and steaming like crazy. Use a whisk and keep whisking steadily until all that bubbling calms down and the mixture looks smooth again. It sounds scary, but that controlled bubbling is what incorporates everything without seizing.
Once it’s smooth, toss in your little cubes of butter. Whisk until every single last bit of butter has melted and disappeared into the sauce. Keeping it off the heat prevents the butter from overheating and ruining your beautiful caramel structure.
Finishing Touches and Cooling the Caramel Dip
Now we personalize it! Stir in your teaspoon of vanilla extract—that always smells heavenly—and the sprinkle of salt to balance the sweetness. Give it one last good whisk to mix those flavors in.
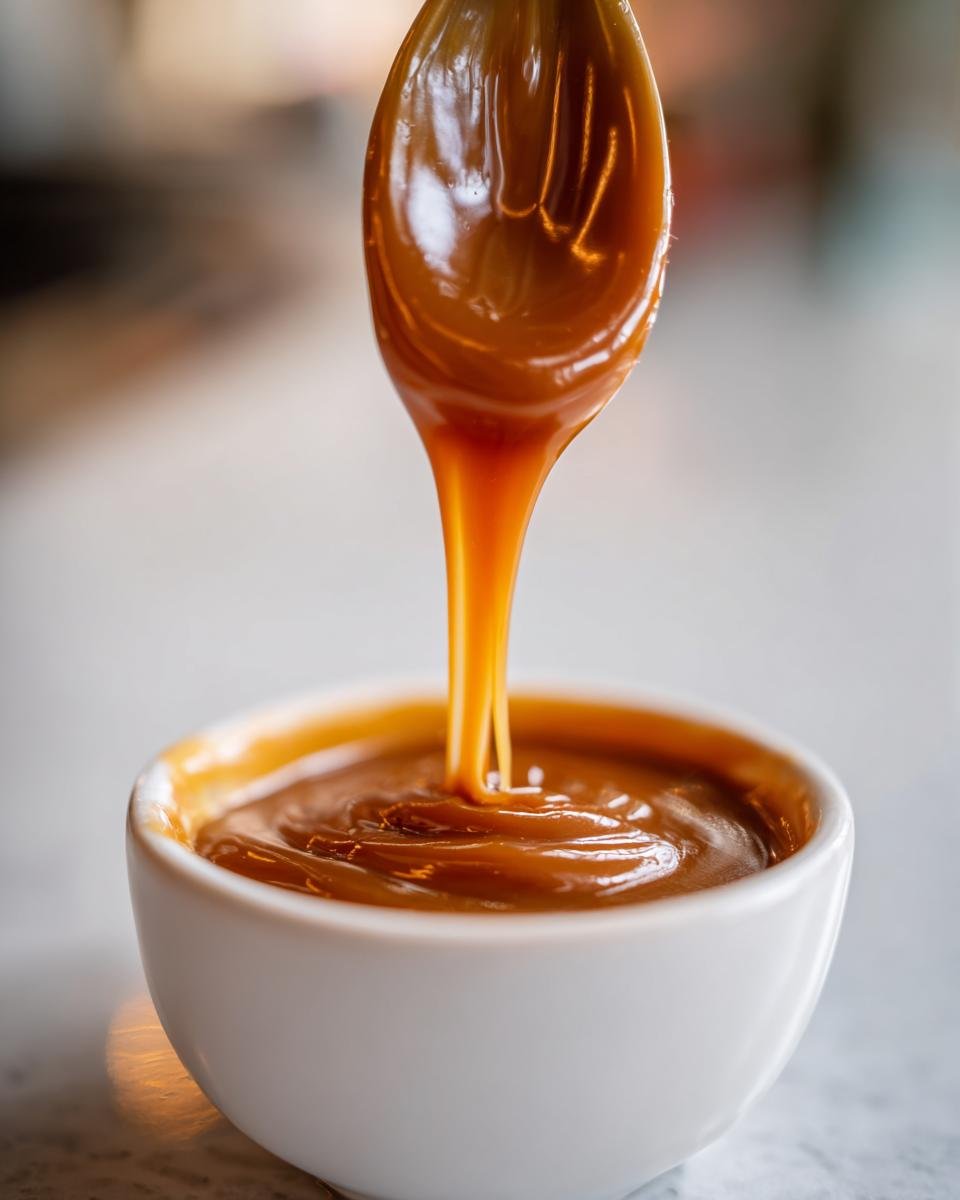
You can dip right into this warm, but remember: this beautiful, liquid **Caramel Dip** will get significantly thicker as it cools down to room temperature. If you want it thinner for drizzling right now, just let it sit for about 15 minutes on the counter before serving.
Tips for the Best Caramel Dip
Even though I preach simplicity, sometimes kitchen gremlins interfere, right? Don’t panic if your gorgeous amber syrup decides to turn into rock candy! We have fixes for every little mishap. I’ve learned a few tricks over the years, much like learning to get the perfect crumb in my pineapple pecan pound cake. A little knowledge goes a long way in making sure this Caramel Dip stays luscious.
Troubleshooting Crystallized Caramel Dip
If your sugar seizes up—meaning it suddenly looks grainy or hardens immediately after you add the cream—it’s usually because the temperature was too uneven or maybe a tiny bit of steam got into the sugar while it was melting. If this happens, just put the pan back on very low heat, add maybe a teaspoon of water, and gently whisk until the sugar dissolves again. It takes patience, but it usually saves the batch so you don’t waste all that cream!
Adjusting Consistency for Your Ideal Caramel Dip
This recipe aims for a wonderful dipping consistency once it’s cool, but maybe you’re prepping for a drizzling situation over waffles, or perhaps you just like it runnier! That’s totally okay, and you don’t have to start over. Remember that little note I included? If you want a thinner result from the start, just add an extra tablespoon of milk when you are pouring in that heavy cream in Step 4.
It’s such a simple adjustment that completely changes how thick your final Caramel Dip will be. Experiment a little! It’s your kitchen, after all.
Serving Suggestions for Your Homemade Caramel Dip
Okay, now that you have this beautiful, warm pot of liquid gold, you absolutely cannot just stand over the sink eating it with a spoon like I sometimes do! (Don’t judge, you will want to.) This dip is incredibly versatile, and it turns simple snacks into something fancy in about two seconds flat. I love that I can pair this simple Caramel Dip with nearly anything, much like the savory goodness I get from my homemade cornbread.

Dipping Favorites: Apples, Pretzels, and More
My go-to pairing, especially in the fall, is crisp apple slices. Granny Smith or Honeycrisp—slice ‘em thin! But don’t stop there. You need to try dipping thick, salty pretzel rods; the sweet and salty combination is addictive. It’s also amazing drizzled warm over plain popcorn while you watch a movie.
If you’re feeling ambitious, use it as a base sauce for dipping churros or even just graham crackers. For a real treat, take some small scoops of vanilla bean ice cream and let them harden slightly in the freezer, then pour your slightly cooled Caramel Dip over the top so it sets into a nice shell. It’s my favorite way to end a long day!
Storage and Reheating Instructions for Caramel Dip
Listen, if you manage not to eat this entire batch right away, good for you! That’s much more self-control than I have. When you do have leftovers, you want to keep this precious Caramel Dip fresh so you can enjoy it later. The best way to store it is in an airtight container—a nice glass jar works great—and pop it right into the refrigerator. If you look at my recipe for homemade spaghetti Bolognese, you’ll see I’m big on storing leftovers well, and this is no different.
It stays perfectly good in there for up to two whole weeks. Seriously, two weeks of deliciousness waiting for you! When you are ready for more, don’t just blast it in the microwave. You need to reheat it gently on the stovetop over low heat, stirring constantly. Heating it too fast can sometimes mess with the texture—we have to protect that smooth caramel—so take your time warming it up before you dip those pretzels!
Frequently Asked Questions About Caramel Dip
I get so many DMs and emails whenever I post a picture of this caramel! People always want to know the little details that ensure their batch turns out just as amazing as mine. Don’t worry if you have questions; that’s what these FAQs are for! I cover everything from what happens if it hardens to how long you can actually keep this lovely Caramel Dip in the fridge. I hope these help you get perfect results, especially if you are trying it out right after baking my spinach ricotta brunch bake!
Can I make this Caramel Dip without heavy cream?
Honestly, I really advise against it. Heavy cream has the necessary fat content to make this sauce rich and wonderfully pliable when it cools. If you use half-and-half or milk, you risk it becoming too thin and possibly splitting when you add the butter, which gives you a watery mess instead of a creamy dip. For this recipe, stick to the heavy stuff!
How long does homemade Caramel Dip last?
If you manage to hide some from yourself, you’re in luck! It keeps beautifully. Store it in an airtight container—a mason jar is perfect—and it lasts great in the refrigerator for up to two weeks. Just remember you have to reheat it gently on the stove before serving again so it flows nicely.
Why did my sugar turn grainy when making this dip?
That is the dreaded crystallization! This usually happens for two reasons: you stirred the sugar mixture after it dissolved but before it turned amber, or perhaps a single granule of sugar splashed onto the side of the pot above the syrup line, which then contaminated the whole batch. The fix is often just adding a touch more water and reheating slowly. Next time, only stir until it’s clear, and then keep absolutely everything away from the sides of the pan!
Nutritional Snapshot of This Caramel Dip
Now, I know we aren’t making this dip because we’re counting calories, but sometimes people ask what exactly they are digging into! Here is a quick look at the numbers based on a serving size of just two tablespoons. Remember, this is just an estimate based on standard ingredients when I make my ultra-simple batch, kind of like how I estimate my quick bread recipes—it might shift a tiny bit based on your exact cream or butter!
- Serving Size: 2 tablespoons
- Calories: 180
- Sugar: 20g
- Fat: 11g (7g Saturated)
- Protein & Fiber: 0g
Share Your Caramel Dip Creations
If you tried this recipe—and seriously, I hope you did!—I want to hear all about it! Did it save Taco Tuesday? Did you dip strawberries or pretzels? Please don’t keep your success (or your troubleshooting tales!) to yourself. Hop down to the comments below right now and leave a star rating so others know how fantastic this Caramel Dip is.
If you capture a photo of your glorious homemade haul, tag me on social media! I love seeing my recipes come to life in your kitchens. We’re building a community of fantastic home cooks here, inspired by everything from this caramel to my amazing chicken fried rice!
Print
Simple Caramel Dip
- Total Time: 20 min
- Yield: About 1.5 cups 1x
- Diet: Vegetarian
Description
A basic recipe for making a smooth caramel dip.
Ingredients
- 1 cup granulated sugar
- 1/2 cup heavy cream
- 1/4 cup unsalted butter
- 1 teaspoon vanilla extract
- 1/4 teaspoon salt
Instructions
- Combine sugar and 2 tablespoons of water in a medium saucepan over medium heat.
- Stir until the sugar dissolves, then stop stirring.
- Cook without stirring until the mixture turns a deep amber color, about 8 to 10 minutes. Watch closely to prevent burning.
- Remove the pan from the heat. Carefully pour in the heavy cream. The mixture will bubble vigorously. Whisk until smooth.
- Add the butter and whisk until fully melted and incorporated.
- Stir in the vanilla extract and salt.
- Let the dip cool slightly before serving. It will thicken as it cools.
Notes
- For a thinner dip, add a tablespoon of milk when adding the cream.
- Store leftover dip in an airtight container in the refrigerator for up to two weeks. Reheat gently before serving.
- Prep Time: 5 min
- Cook Time: 15 min
- Category: Dessert
- Method: Stovetop Cooking
- Cuisine: American
Nutrition
- Serving Size: 2 tablespoons
- Calories: 180
- Sugar: 20
- Sodium: 40
- Fat: 11
- Saturated Fat: 7
- Unsaturated Fat: 3
- Trans Fat: 0
- Carbohydrates: 21
- Fiber: 0
- Protein: 0
- Cholesterol: 40
Keywords: caramel dip, homemade caramel, sweet dip, dessert sauce, easy caramel