
There’s nothing quite like the smell of fresh pastry wafting from the oven when you’re barely out of bed. Forget those dry, crumbly tea shop failures—I figured out the secret to the ultimate tender breakfast treat years ago. Seriously, my first attempt at **Blueberry Scones** ended up tasting like sweet rocks, but I learned quickly!
I’m here to share my totally foolproof, super simple recipe. We’re not doing complicated folds or chilling overnight here. These are classic, buttery, melt-in-your-mouth scones bursting with sweet berries, and honestly, they come together faster than you can brew your coffee. Trust me, once you nail this technique, you’ll be making these every weekend.
Why You Will Love These Simple Blueberry Scones
I know there are a million scone recipes out there, promising flaky perfection, but these are truly different. Why should you bother with mine? Well, for starters, they are ridiculously fast. You can have these on the counter while the news is still on!
Here’s what you can expect from this simple recipe:
- They bake up in under 20 minutes! Seriously, total dream timing for a busy morning.
- The texture is spot-on—tender and *just* moist enough, never dry or crumbly like some store-bought nightmares use to be.
- We keep the ingredients classic, so that real butter flavor just sings alongside the bursting fresh blueberries.
- You don’t need fancy equipment; just a bowl and your hands are about all you need to get started.
- They freeze beautifully! Pop one in the toaster oven later in the week for an instant breakfast treat.
- It’s a fantastic starting point if you want to explore other quick bread recipes, like the ones I love over at my favorite quick bread roundup!
These are the scones I make when I want that cozy bakery feeling without spending half the morning fussing in the kitchen.

Essential Ingredients for Perfect Blueberry Scones
Listen, these scones are simple, but simplicity means we *have* to respect the ingredients we choose. If you have the main components ready, you’re 90% of the way there. I’ve laid out exactly what you need below. Notice I stick strictly to heavy cream for the liquid—it’s non-negotiable for that rich mouthfeel!
- 2 cups all-purpose flour (the everyday kind works great!)
- 1/4 cup granulated sugar (for just a touch of sweetness)
- 1 tablespoon baking powder (our secret for a nice, quick rise)
- 1/2 teaspoon salt
- 1/2 cup cold unsalted butter, cut into small pieces (and I mean *cold*!)
- 3/4 cup fresh or frozen blueberries (the star of the show!)
- 1/2 cup heavy cream, plus extra for brushing the tops
- 1 large egg
Ingredient Notes and Substitution Tips for Blueberry Scones
Okay, let’s talk about the cold stuff because this is where most people go wrong with scones. That butter needs to be icy cold, cut into little pea-sized chunks. When that cold butter hits the hot oven, it creates steam pockets, giving you those lovely flaky layers. If your butter melts before it even hits the flour, you get pancakes, not scones!
And about those blueberries: If you’re using frozen ones, do not, under any circumstances, thaw them first! Toss those icy little guys right into the flour mixture. They mix in better cold and they won’t bleed all over your beautiful dough right away. That little bit of extra cold helps keep the dough firm.
Equipment Needed for Making Blueberry Scones
The wonderful thing about these simple blueberry scones is that you don’t need a full bakery setup, thank goodness! I usually just use what’s already sitting on my counter. Let’s get organized so the mixing goes super smoothly once you have your ingredients ready.
Here’s the essential list. You probably have all of this tucked away somewhere:
- A couple of mixing bowls—one big one for the dry stuff and a little one for the cream/egg wash.
- A whisk for blending the flour mix.
- A pastry blender is my first choice for cutting in the butter—it gets those nice small bits faster than my fingers sometimes do.
- A large baking sheet, definitely lined with parchment paper. Never skip the parchment!
- A sharp knife or a round biscuit cutter for shaping the dough. No fancy tools needed for these!
- A cooling rack so the bottoms don’t get soggy while they cool down.
That’s it! We are keeping this simple, fast, and fuss-free so you can enjoy your breakfast pastry sooner rather than later.
Step-by-Step Instructions for Fluffy Blueberry Scones
Alright, clear a little space on the counter! We’re moving fast here, but remember the golden rule for tender scones: gentle hands only! Overworking this dough is the absolute fastest way to end up with something hard enough to pound nails with. Preheat your oven to 400 degrees Fahrenheit right now and get a nice sheet of parchment paper ready for your baking tray.
This process moves quickly once you start combining the wet and dry ingredients, so have everything measured out before you begin Step 2. Think of it like a quick relay race where you don’t want to drop the baton! If you are looking for other incredibly easy baking projects, those 2-ingredient biscuits I shared are a great next step after you master these scones.
Mixing the Blueberry Scones Dough
First things first, let’s build the foundation. Whisk together your flour, sugar, baking powder, and salt in your biggest bowl. Next comes that crucial cold butter. Use your pastry blender—or just your fingertips if you work fast—and cut that butter into the flour until it looks like coarse sand with some tiny, stubborn pea-sized pieces still visible. This is exactly what we want for flakiness later!
Gently fold in your blueberries now. Don’t go crazy stirring, or you’ll start bruising them and turning everything pale purple! In a separate, smaller bowl, give your egg and heavy cream a quick whisk until they are happy, then pour that wet mixture right over the dry ingredients.
Now, this is the most important part of the whole process. Mix *just* until the flour disappears and you have a shaggy, messy dough. If you see a few dry spots, that’s fine! If you mix until it’s perfectly smooth, you activate too much gluten, and boom—tough Blueberry Scones. Stop mixing the second it holds together!
Shaping, Cutting, and Baking Your Blueberry Scones
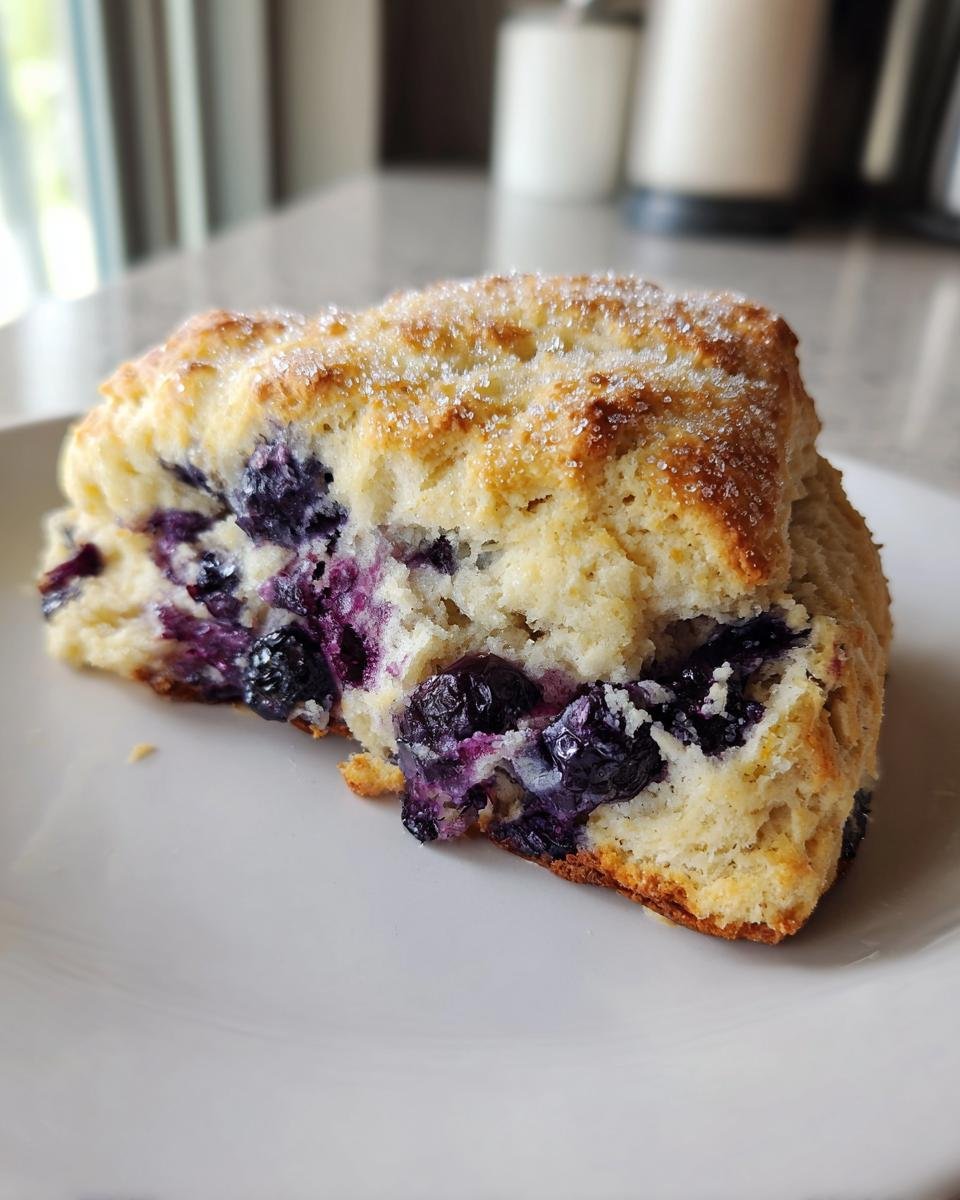
Turn that rough dough out onto a surface I’ve lightly dusted with flour. Pat it down gently—do not roll it thin with a rolling pin unless you absolutely must! I find patting it into a thick, rough circle about 3/4 of an inch high gives the scones the best loft. You can see how I keep mine a bit rustic; I don’t even worry about perfecting the shape!
Use a sharp knife to slice that circle into 8 nice wedges. Now, place them onto your prepped baking sheet, making sure they aren’t touching too closely. I always grab the extra heavy cream and brush just a light coat over the tops. If you want that bakery bling, sprinkle on a tiny bit more sugar now. They go into the hot oven for about 15 to 18 minutes. Keep an eye out! They are done when they look beautifully golden brown on top and spring back lightly if you touch them very carefully. Pop them onto a wire rack to cool down a little bit before you demolish them.
Tips for Achieving Bakery-Quality Blueberry Scones
So, you’ve mastered the mixing, and your dough is looking suitably shaggy—that’s fantastic! But if you want to move these from “good” to “I need to hide these so my family doesn’t eat them all in one sitting,” you need a couple of little tricks up your sleeve. These small steps really separate a decent home scone from one that tastes like it just came out of a professional oven.
My biggest personal breakthrough when making these Blueberry Scones was learning the power of coldness, even more so than I mentioned earlier! If you find your kitchen is a little too warm—maybe it’s a hot afternoon, or you’ve got the oven running hot—that butter starts getting soft way too fast once the dough is mixed.
If you suspect your dough is too warm before you even cut the wedges, slide the whole circle or square onto the parchment paper and pop it in the freezer for just 10 minutes. This sounds excessive, but trust me, freezing the fat gives you incredible lift and flake when it hits that 400-degree heat. It ensures the scones rise tall instead of spreading wide!
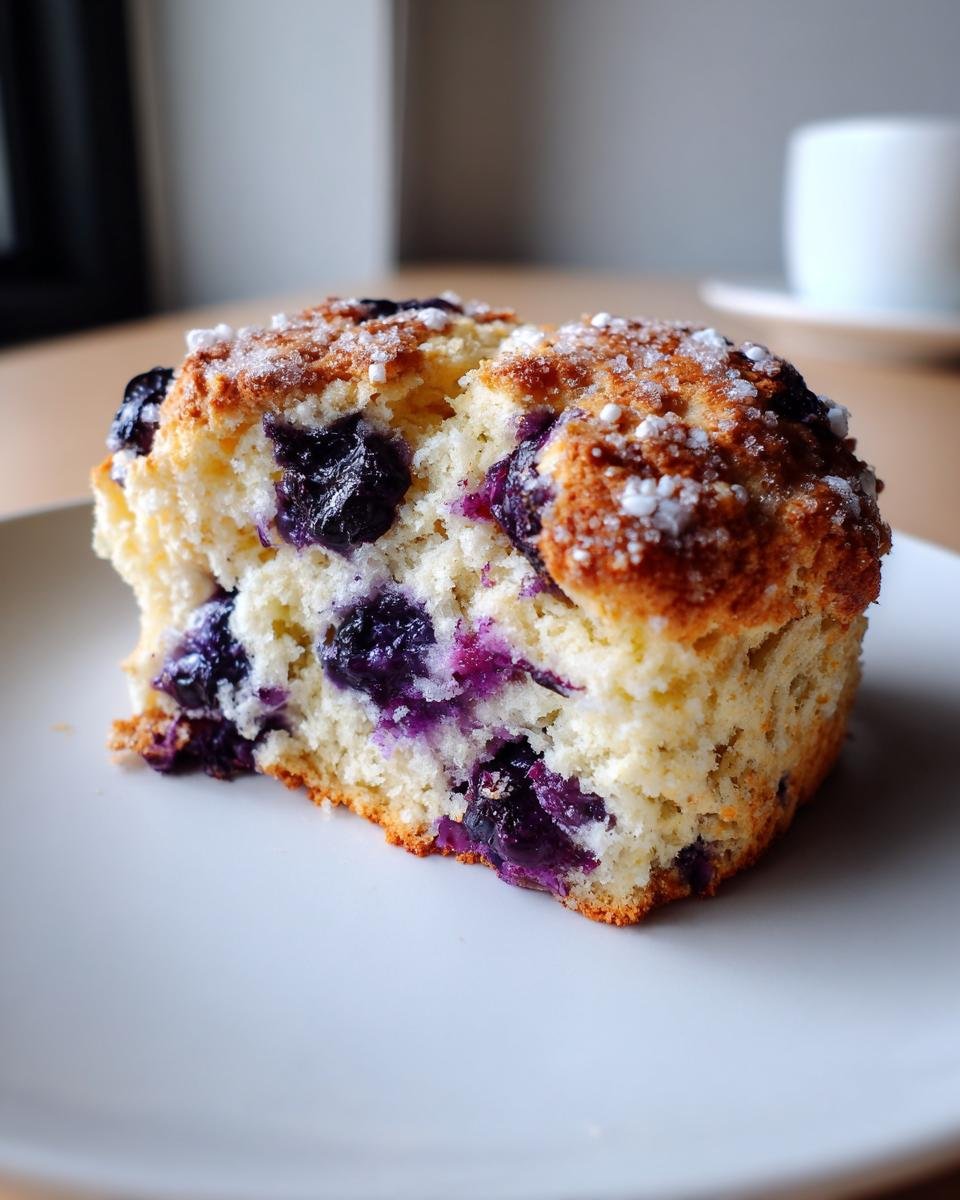
Also, about that sprinkle on top? If you really want that classic, slightly crunchy, sweet crust—the kind that flakes off perfectly while you’re eating—you need to be generous with the extra sugar on top before they go in the oven. Don’t be shy with it! While the source notes suggest sprinkling extra sugar for sweetness, I find that topping the cream wash with coarse sparkling sugar gives you a fantastic texture contrast against the soft interior.
One thing people often forget is the egg wash (or the heavy cream brush, in our case). That cream on top doesn’t just make them look golden and glossy; it helps set the surface texture quickly. A heavy brush ensures a beautiful, slightly hardened crust, which keeps those beautiful Blueberry Scones perfectly sealed and tender inside. It’s such a simple finish, but it makes such a visual impact!
Serving Suggestions for Delicious Blueberry Scones
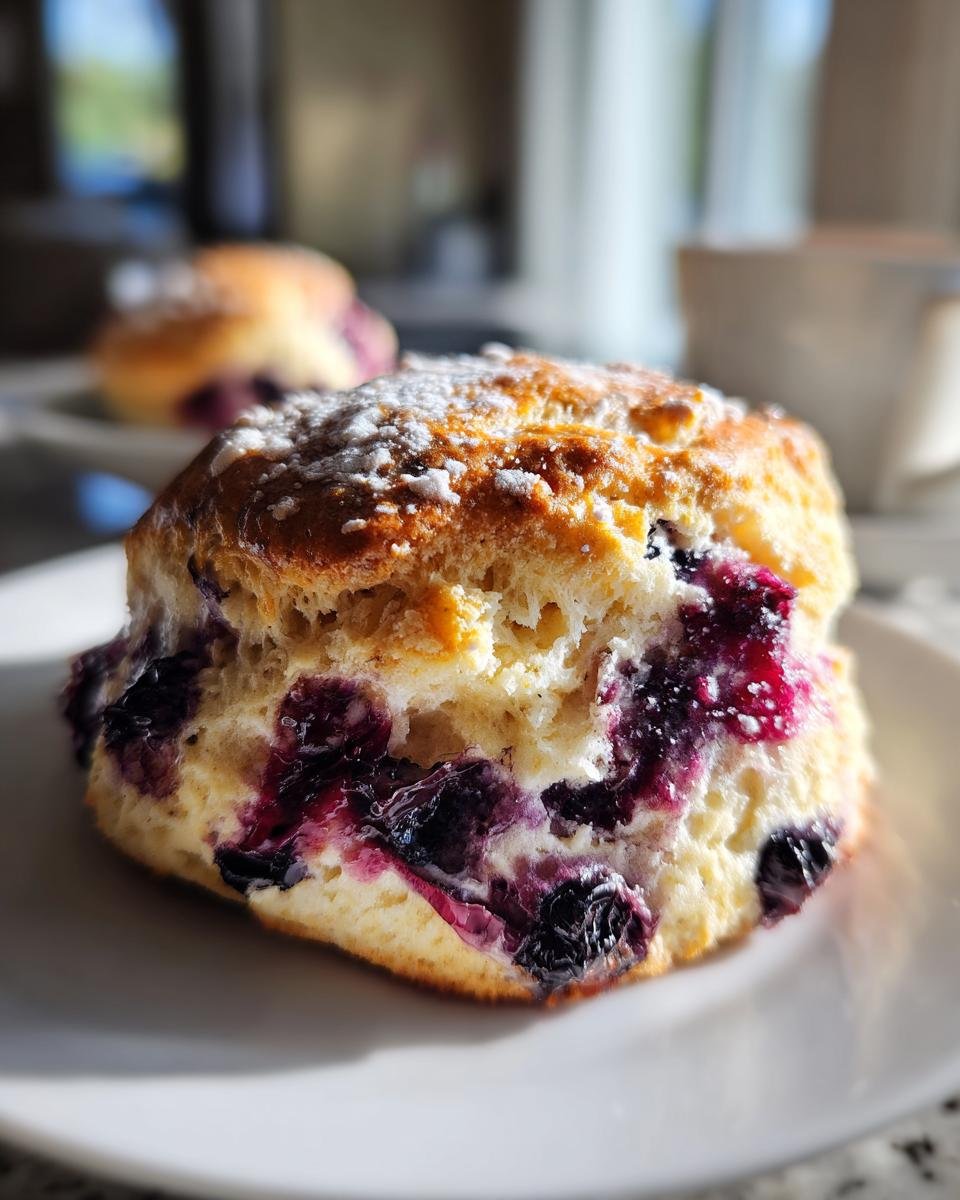
I think these Blueberry Scones are absolutely perfect just as they are—warm from the oven, maybe with a tiny pat of good salted butter melting into the crumb. That’s the simplest way, and honestly, you can’t go wrong letting the fresh blueberries and the buttery dough be the total stars of the show.
But if you want to elevate them into a real brunch centerpiece? Oh, we can certainly do that! These pastries are just begging for just a little something extra on the side. They have just the right amount of sturdy texture to stand up to richer toppings, unlike some flimsy breakfast items.
Here are my favorite ways to serve them:
- Clotted Cream and Jam: This is the classic British way, and it just feels luxurious! A good quality strawberry or raspberry jam cuts through the richness of the cream beautifully. The texture contrast is everything.
- Lemon Drizzle: If you’re feeling adventurous, a simple icing made from powdered sugar and fresh lemon juice is divine. It adds a lovely sweet-tart punch that pairs shockingly well with the blueberries. If you want to look up a template for a beautiful, shiny glaze, check out the icing technique I use for my incredibly bright lemon bars—it works here too!
- Just a Dusting: If you didn’t sprinkle the extra sugar on top before baking, save a tiny bit of powdered sugar for a light, snow-like dusting right before serving. It looks elegant without adding a ton of extra sweetness to the entire scone.
The one thing I insist on? Serve them warm! Even if they’ve cooled completely, give them about five minutes in a low oven or even 10 seconds tucked into the microwave. That slight warmth reactivates the butter flavors, and it really wakes up the berries. It makes all the difference, folks, trust me on this one!
Storage and Reheating Instructions for Blueberry Scones
Now, the hard part: having leftovers! Honestly, these Blueberry Scones are best eaten the day they are baked, fresh and warm. But if you managed to keep any back (kudos to you, that takes serious willpower!), you need to store them correctly so they don’t go stale overnight. We want that tender crumb preserved, not turned into something you could use as a doorstop!
If you have a few left by dinnertime, just pop them into an airtight container. Keep that container at room temperature, not in the fridge. Cold air dries out baked goods faster than leaving them on the counter uncovered, so an airtight seal is your best friend here! They should easily last for a good three days this way, though I suspect they won’t last that long in my house.
If you’ve gone and made a huge batch and want them to last longer than three days, freeze them! Wrap each individual scone tightly in plastic wrap first—this locks in that last bit of moisture. Then, place the wrapped scones into a large freezer bag. They keep wonderfully for about two months this way.
The reheating is key to bringing them back to life. If you’re grabbing one from the counter, just give it 15 seconds in the microwave to soften up. If you’re freezing them, I highly recommend avoiding the microwave, which can make them a bit chewy later on. Instead, wrap the frozen scone loosely in foil and pop it into a 325-degree oven for about 8 to 10 minutes. That gentle heat warms the butter back up, revitalizes the dough, and gives you that ‘freshly baked’ texture all over again. Trust me; taking five extra minutes for the foil trick pays off huge!
Frequently Asked Questions About Blueberry Scones
If you’re still here, it means you’re serious about making the best Blueberry Scones, and I love that dedication! Most of the time, any questions folks have are about timing or slight ingredient swaps. Here are some of the things I hear most often, hopefully saving you a panicked text message while you’re mixing!
If you’re looking for even more morning inspiration after you master these fluffy beauties, you can browse everything else I consider essential breakfast treats right over here: my breakfast category.
Can I make these Blueberry Scones ahead of time?
You absolutely can! This is a fantastic trick for weekend mornings when you want to sleep in a little longer. You can mix the entire dough together—even after cutting in the butter—and wrap it up tightly in plastic wrap. Keep it in the fridge for up to 24 hours. When you are ready to bake, just gently pat it out, cut your wedges, give that cream wash on top, and bake as directed. They might need one or two extra minutes in the oven since they are starting out cold, but the texture will still be phenomenal!
What is the best substitute for heavy cream in Blueberry Scones?
Oh, the heavy cream conundrum! Look, I preach using heavy cream because that high fat content is what keeps things so tender. But if you are totally out, you can generally substitute it with whole milk if you have to. Just be warned: milk has less fat, so your scones might end up a tiny bit less rich and maybe a touch less tender than the original version. If you have half-and-half, that’s a better bet, as it’s closer to the fat content of cream. Never use skim milk, though, or they will definitely spread out on the pan!
How to get extra tall Blueberry Scones?
This is all about temperature and technique, I tell ya! The single best way to get those tall, straight sides that look so professional is making sure you cut the dough cleanly and don’t twist the cutter if you use one. Twist your cutter or knife as you remove it, and you seal the edges together right where you want the scone to rise. That seal traps the steam inside. Also, my absolute top trick is chilling the *cut* wedges on the baking sheet for 10 minutes before they go into the hot oven. Setting that cold butter before the heat hits guarantees maximum lift!
Estimated Nutritional Information for Blueberry Scones
Because I know some of you like to keep track, I pulled together the approximate nutritional breakdown for these simple treats. We’re keeping this basic, so these numbers are just an estimate based on the ingredients I used in my tests. Your portion sizes or the brands you use might shift things slightly, so take this as a general guide!
Here is what one standard scone serving typically looks like:
- Serving Size: 1 scone
- Calories: 280
- Sugar: 8g
- Sodium: 250mg
- Fat: 16g
- Saturated Fat: 10g
- Unsaturated Fat: 6g
- Trans Fat: 0g
- Carbohydrates: 30g
- Fiber: 1g
- Protein: 5g
- Cholesterol: 55mg
Pretty reasonable for a satisfying, buttery breakfast pastry, if you ask me! Enjoy them!
Print
Simple Blueberry Scones
- Total Time: 33 min
- Yield: 8 servings 1x
- Diet: Vegetarian
Description
A straightforward recipe for making classic blueberry scones at home.
Ingredients
- 2 cups all-purpose flour
- 1/4 cup granulated sugar
- 1 tablespoon baking powder
- 1/2 teaspoon salt
- 1/2 cup cold unsalted butter, cut into small pieces
- 3/4 cup fresh or frozen blueberries
- 1/2 cup heavy cream, plus extra for brushing
- 1 large egg
Instructions
- Preheat your oven to 400 degrees Fahrenheit (200 degrees Celsius). Line a baking sheet with parchment paper.
- In a large bowl, whisk together the flour, sugar, baking powder, and salt.
- Cut the cold butter into the flour mixture using a pastry blender or your fingers until the mixture resembles coarse crumbs.
- Gently stir in the blueberries.
- In a small bowl, whisk together the heavy cream and egg. Pour this mixture into the dry ingredients. Mix just until a shaggy dough forms. Do not overmix.
- Turn the dough out onto a lightly floured surface. Gently pat or roll the dough into a 3/4-inch thick circle or square.
- Cut the dough into 8 wedges or use a round cutter. Place the scones on the prepared baking sheet.
- Brush the tops lightly with extra heavy cream.
- Bake for 15 to 18 minutes, or until the tops are golden brown.
- Cool on a wire rack before serving.
Notes
- If using frozen blueberries, do not thaw them before adding them to the dough.
- For a sweeter scone, you can sprinkle extra sugar on top before baking.
- Prep Time: 15 min
- Cook Time: 18 min
- Category: Breakfast
- Method: Baking
- Cuisine: American
Nutrition
- Serving Size: 1 scone
- Calories: 280
- Sugar: 8
- Sodium: 250
- Fat: 16
- Saturated Fat: 10
- Unsaturated Fat: 6
- Trans Fat: 0
- Carbohydrates: 30
- Fiber: 1
- Protein: 5
- Cholesterol: 55
Keywords: blueberry scones, scones recipe, breakfast pastry, quick bread