
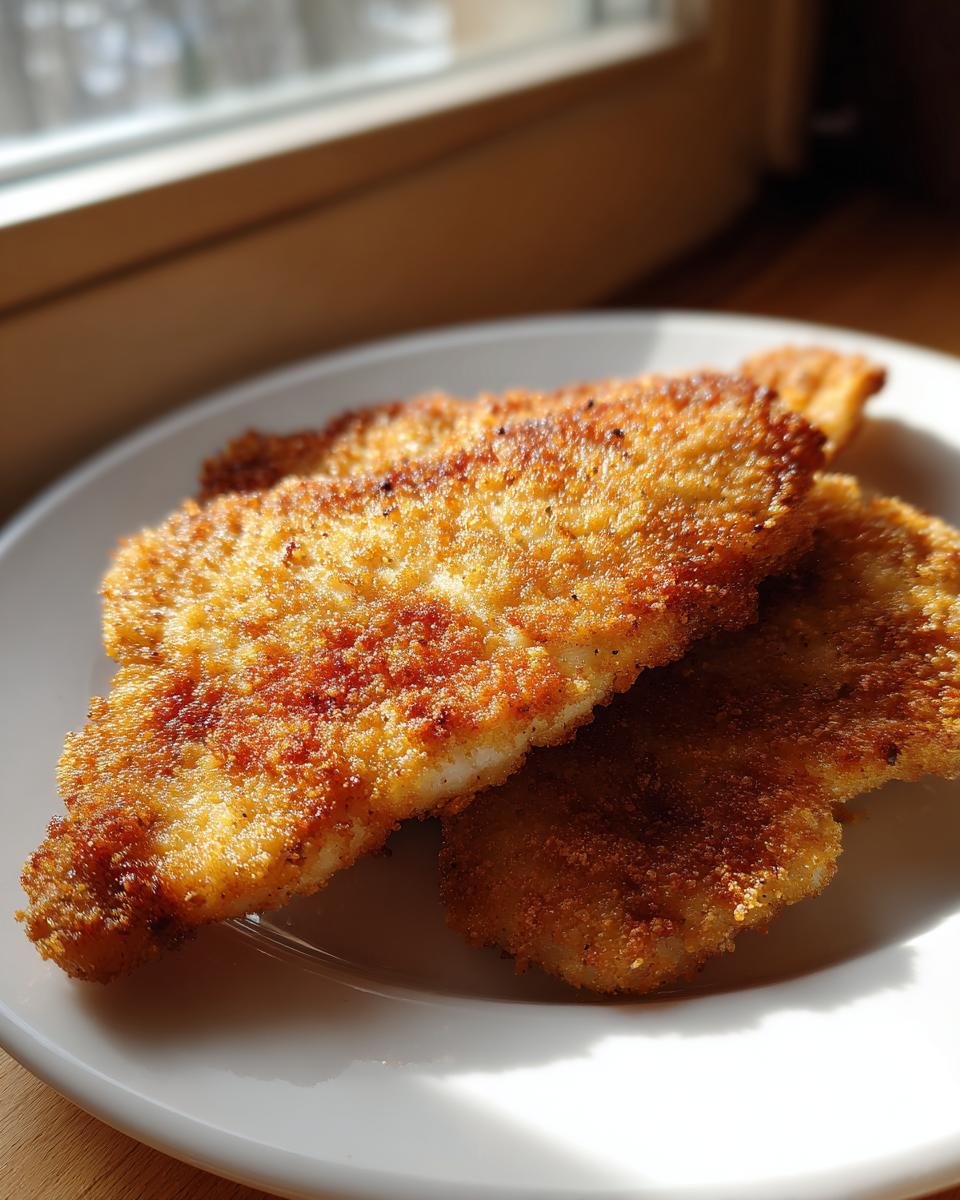
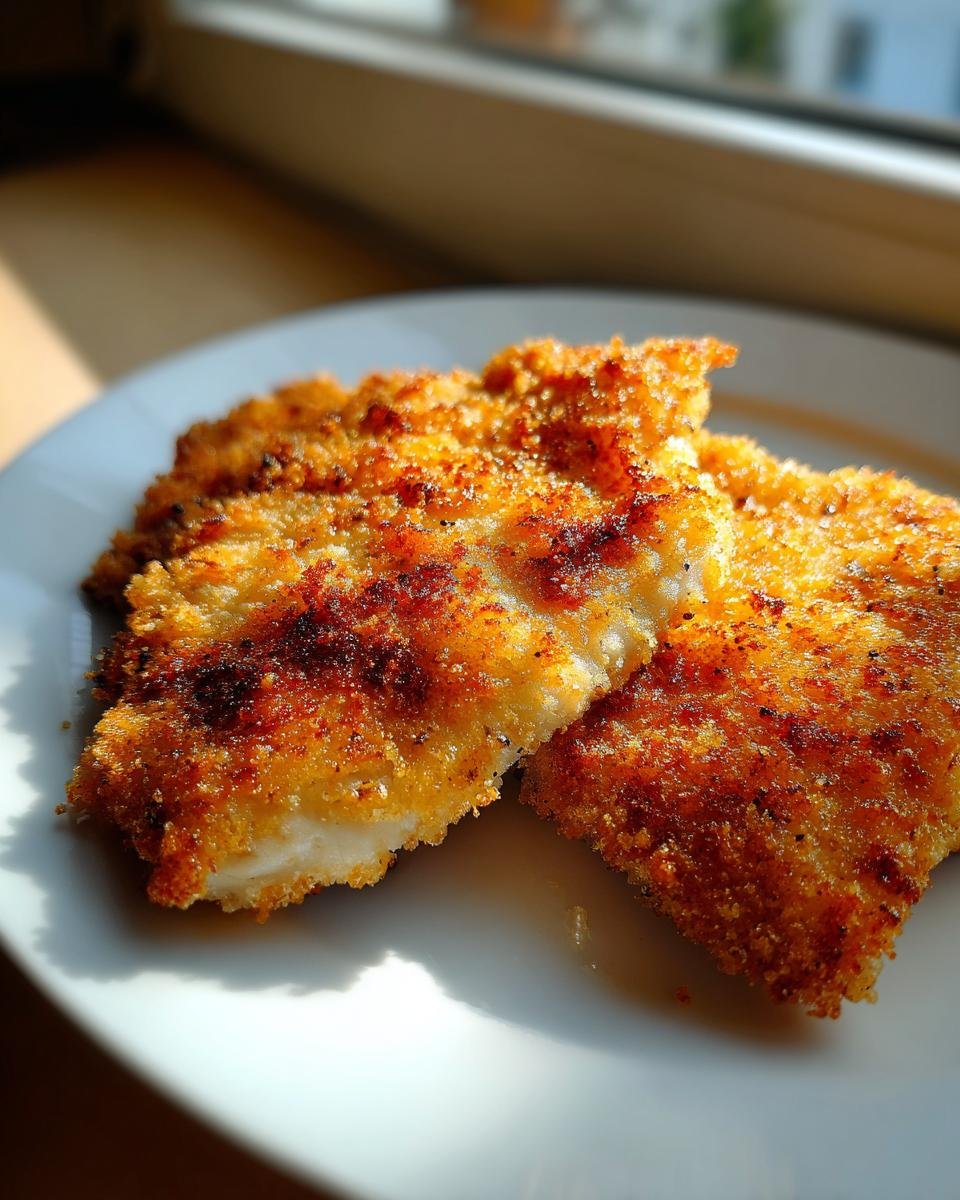
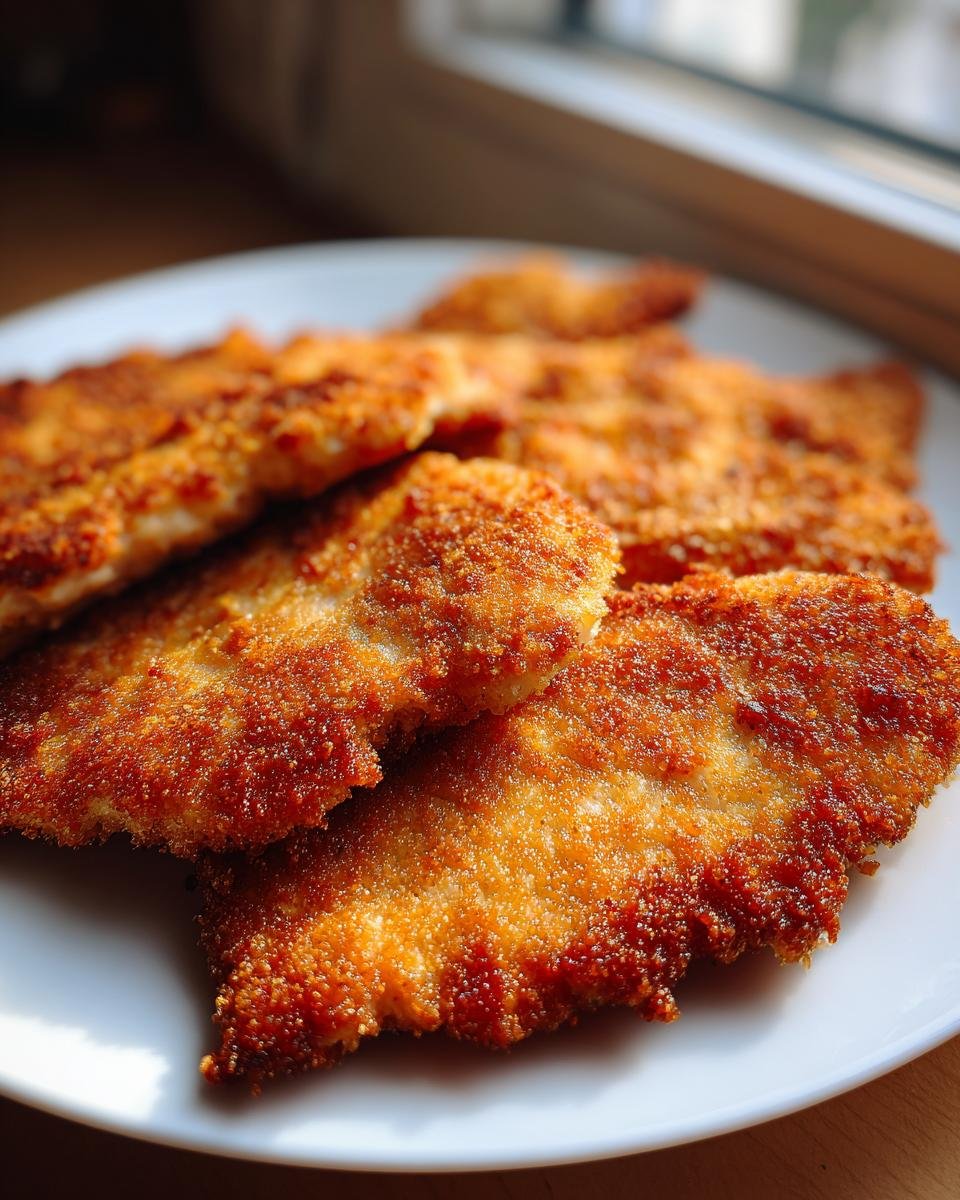
When life gets hectic and you need a dinner on the table that feels both comforting and slightly fancy, I know exactly where to turn: my absolute best recipe for making quick, satisfying pan-fried chicken cutlets. Seriously, forget takeout! These are the easiest, most flavorful breaded chicken cutlets you will ever make, and they come together faster than you can decide on laundry. I spent ages messing up pounded chicken—it was either too thick and chewy or it tore completely when I tried to bread it.
The real game-changer for me was learning to pound the chicken breast *gently* but firmly, right between two sheets of plastic wrap. When you finally get that perfect, thin piece—about a quarter of an inch thick—that’s when the magic happens. You end up with edges that crisp up beautifully while the inside stays unbelievably tender. Trust me, once you master the pound, you’ll be whipping these up every week!

Why You Will Love These Simple Pan-Fried Chicken Cutlets
Honestly, these pan-fried chicken cutlets are just perfect for busy weeknights. I mean, they are fast—you can have them ready in about 30 minutes total, which lets me feel like a hero when everyone is asking what’s for dinner! But the texture? That’s the selling point for me.
Here’s what makes this particular recipe my go-to:
- Speed Demon: From raw breast to plate in under 15 minutes of actual cooking time.
- Perfect Crunch: The light breading gets incredibly crispy without heavy, greasy batter.
- Tender Inside: Because they are pounded thin, the meat cooks fast and stays juicy. No dry chicken nightmares here!
- Total Versatility: You can serve them as a simple main course, slice them over a salad, or pile them onto a sandwich. They truly go with everything.
Plus, if you are looking for other crispy ideas, you should check out my favorite crispy chicken tenders recipe!
Essential Ingredients for Perfect Chicken Cutlets
Okay, the secret to amazing chicken cutlets isn’t really a secret—it’s treating the ingredients right, especially the chicken itself! You don’t need a crazy shopping list here. Most of this stuff is probably already lurking in your pantry. But pay attention to what I’ve written down, because those measurements matter for getting that beautiful golden crust.
You’ll need these core components:
- 4 boneless, skinless chicken breasts (We are turning these into our cutlets!)
- 1/2 cup all-purpose flour
- 1 teaspoon salt (Don’t skimp, this brings out the flavor!)
- 1/2 teaspoon black pepper
- 2 large eggs, lightly beaten
- 1 cup breadcrumbs (Plain or panko, your choice!)
- 2 tablespoons olive oil
- 1 tablespoon butter (This combo gives the best flavor and helps prevent burning.)
Remember that the goal when you pound these out is to get them uniformly thin—aiming for about 1/4 inch thickness all over. Seriously, even cooking is everything!
Ingredient Notes and Substitution Tips
I always get questions about the breading because that’s where you can really personalize this dish. If you want to take these cutlets up a notch from ‘great’ to ‘oh my gosh, what is in this?’, you absolutely have to try mixing about 1/4 cup of grated Parmesan cheese right into your breadcrumbs.
It melts beautifully and adds this fantastic salty depth. Also, feel free to mix up your breadcrumbs! Panko breadcrumbs give you a slightly lighter, airier crunch, while regular fine breadcrumbs give you a denser, more traditional coating. Both work perfectly; it just depends on what texture your heart desires that day.
And hey, don’t forget that this thin-cut method works for other proteins too! If you’re feeling like a change, you can totally substitute these chicken breasts with thin-cut pork chops. They cook up just as fast. If you want to see how I handle those, check out my guide on how to fry fried pork chops or even my recipe for pork schnitzel done breaded style!
Equipment Needed for Making Chicken Cutlets
Okay, you can’t make a masterpiece without the right tools, right? Don’t worry, you don’t need a giant stand mixer or anything fancy for this recipe. These are simple tools that most of us already have kicking around the kitchen, but having them ready makes the whole process flow like a dream. Missing even one of these can make the breading station a total nightmare!
Before you even touch that chicken, grab these essentials:
- Meat Mallet (or rolling pin): This is non-negotiable for getting that perfect 1/4-inch thickness across the whole breast. If you don’t have a mallet, wrap that chicken up tightly and use a heavy rolling pin—just don’t forget the plastic wrap first!
- Three Shallow Dishes or Plates: You need one for the flour mix, one for the egg wash, and one for the breadcrumbs. Trust me, using three separate spots keeps everything neat, and it’s the professional way to build that coating.
- A Large Skillet: You need enough surface area so you aren’t cramming the cutlets in there. Crowding the pan drops the oil temperature, and then instead of frying, you end up steaming your nice breading!
- A Reliable Thermometer: I know some bakers swear they can tell doneness by smell, but for meat, you need food safety precision. A quick-read thermometer ensures you hit that 165°F mark without overcooking the thin meat.
Having all of these out and ready before you start pounding the chicken saves so much time later on!
Step-by-Step Instructions for Pan-Fried Chicken Cutlets
Alright, this is where you turn those lovely pieces of raw chicken into dinner gold! It seems simple, but the order of operations makes a huge difference in texture and safety. We’re going to move fast once we get to the frying part, so make sure everything is prepped before you start pounding.
First things first, we need to get that chicken thin. Place your boneless, skinless breasts between two sheets of plastic wrap. Now, take your meat mallet—or honestly, my favorite heavy-bottomed saucepan works in a pinch—and pound them until they are uniformly about 1/4 inch thick. If you get one super thick spot, the thin parts will burn before the thick part is cooked through, and that is just tragic. We want even cooking!
Next, get your breading station set up. This is crucial! You need three shallow dishes lined up in this order:
- Dish 1: Flour mixed with salt and pepper.
- Dish 2: The lightly beaten eggs.
- Dish 3: Your breadcrumbs (maybe with that Parmesan mixed in!).
Now, dredge each pounded cutlet following the sequence precisely. First, heavy flour coating, shake off the extra—we want just a dusting sticking to the meat! Then a quick dip in the egg, letting the excess drip back into the dish. Finally, press it firmly into the breadcrumbs. You want a nice, even coat sticking all over.
Time to cook! Heat your large skillet over medium heat. I always do a mix of olive oil and butter because the oil raises the smoke point and the butter gives that nutty, golden flavor. Once that fat is shimmering—not smoking!—carefully lay those breaded cutlets down in the pan. Listen for that happy sizzle! Do this in batches, seriously. If you cram them in there, the temperature drops, and they’ll soak up oil like a sponge instead of getting crisp. They only need about 3 to 4 minutes per side until they hit that magical 165 degrees Fahrenheit internal temperature. Pull them out immediately when they are done and set them on a wire rack or paper towels to drain for just a minute before serving.
If you want to try this preparation with pork, make sure you go check out my tips for fried pork chops or my guide on making classic pork schnitzel the breaded way!
Expert Tips for Achieving Maximum Crispiness on Your Chicken Cutlets
Crispiness isn’t just luck! It comes down to a few simple pre-cooking steps that I used to always skip, which resulted in sad, limp breading. Don’t make my mistakes!
The absolute first thing you must do is ensure your chicken breasts are totally dry before they even see the flour. Use paper towels and pat them down aggressively. Moisture is the number one enemy of crispiness; flour won’t stick well to wet surfaces.
When you dredge them, remember the goal is a *thin* coating. After the flour, shake off everything you can. If you leave huge clumps of flour, that flour over-fries and burns before the meat is done, leaving a powdery taste behind. We want the breadcrumbs to be the star, not the flour layer underneath.
And finally, the fat mixture. That combination of oil and butter needs to be at that perfect medium heat baseline. It should look shimmery and move freely in the pan. If it’s too cool, the breading gets soggy fast. If it’s ripping hot, the coating burns immediately. Pay attention to the sizzle when the chicken hits the pan—that perfect sound means you’ve got the heat just right, and maximum crispiness is guaranteed!
Serving Suggestions for Your Flavorful Chicken Cutlets
These pan-fried chicken cutlets really are the workhorses of the dinner table because they go with practically anything! Because the breading is relatively light and crisp, you don’t want to drown them in heavy sauces unless you are purposely making something like a chicken parm—which, by the way, is a great next step for leftovers!
For a fast, simple weeknight, I usually aim for sides that just complement that savory, crispy coating without fighting it. You want brightness or something satisfyingly starchy, you know?
Here are a couple of my favorite pairings when I have these cutlets fresh out of the pan:
- Simple Pasta Toss: Toss some spaghetti or angel hair pasta with a bit of good quality olive oil, plenty of fresh lemon zest, a sprinkle of flaky salt, and maybe some parsley if I have it. It’s light enough that the pasta doesn’t weigh down the crispness of the chicken.
- Garlic Herb Potatoes: If you want starch, you absolutely have to try roasting some potatoes with garlic and herbs. My recipe for delicious garlic herb roasted potatoes is simple, and they are fantastic underneath the cutlets.
- A Seriously Crunchy Salad: Sometimes you just need greens, and piling these thinly sliced cutlets over a vibrant salad is fantastic. I have a favorite dressing for my super crunch salad recipe that cuts through the richness beautifully.
The key is giving that wonderfully textured chicken the spotlight it deserves!
Storage and Reheating Instructions for Leftover Chicken Cutlets
Even though these pan-fried chicken cutlets are so addictive you might not have leftovers, sometimes life happens! If you do manage to save a few, how you store and reheat them is everything. If you just toss them in a regular plastic container, you’re inviting sogginess, and we absolutely cannot let that happen to something that was so perfectly crispy moments ago!
When cooling any extra cutlets, make sure they are completely cooled down after you take them off the draining rack. If you put warm food into a sealed container, you trap steam, and steam equals a soggy crust. Definitely don’t forget that part!
Once cool, the best way to store them is in an airtight container, but here’s my little trick: place a layer of paper towels on the bottom of the container first. This acts like a little sponge to absorb any residual moisture settling overnight. Then, put another paper towel layer on top of the cutlets before sealing the lid, and keep that container in the fridge.
How to Reheat and Bring Back the Crunch
Okay, listen closely: the microwave is the enemy of crunchy breading. It heats the moisture inside the coating, turning it into chewy bread mush. We are going to use methods that aim to dry out that coating again.
If you have time, my absolute favorite way to revive these is using an air fryer. It’s basically a mini convection oven, and it makes these taste almost freshly fried. Lay them in a single layer—don’t overlap them!—and heat at about 375°F for 5 to 7 minutes. Shake the basket halfway through. This gets the edges snapping again!
If you don’t have an air fryer, the conventional oven works nearly as well. Preheat your oven to about 375°F (or 400°F if you’re really impatient, but watch them closer). Place the cutlets on a wire rack set over a rimmed baking sheet. Baking them on a rack instead of directly on the sheet lets air circulate underneath, which is super important. Give them about 8 to 10 minutes, checking them at the 6-minute mark. They should be golden and crisp again!
If you’re in a massive hurry and have no other choice, you can use the microwave, but you have to treat them gently. Microwave them for just 30 seconds to heat them through, and then immediately crisp them up in a hot, dry skillet for about a minute per side just to dry out the exterior. It’s clunky, but it works in a pinch!
Troubleshooting Common Issues with Chicken Cutlets
Look, even the best recipes sometimes run into hiccups, right? That’s just cooking! What I love about these simple pan-fried chicken cutlets is that most problems are totally fixable once you know what’s causing them. I’ve certainly made my share of messy, unevenly cooked chicken in my day, but these three common issues are the ones that trip up most people, especially when setting up that breading station.
Don’t panic if your chicken doesn’t look perfectly uniform right out of the pan; these tips should get you back on track!
Problem One: Why Is My Breading Falling Off?
This is the most frustrating thing! You lift the cutlet, and half the crunchy coating stays behind in the pan. This almost always comes down to moisture or handling. Remember how I stressed patting the chicken completely dry before flouring? If there is *any* surface moisture, the flour won’t stick,
And here’s my second tip for fixing it: After dipping the cutlet in the egg, when you press it into the breadcrumbs, *press firmly*. Don’t just gently roll it. You need to gently press the crumbs onto the meat with the palm of your hand so they adhere well before they even hit the hot oil. Really press that coating on there!
Problem Two: The Cutlets Are Cooking Unevenly
If you pull one piece out and it’s golden brown and perfect, but the next one you pulled out a minute later is pale or, worse, burnt on one side, it’s probably because the chicken wasn’t the same thickness.
This is why pounding is so important. If you have a spot that’s almost half an inch thick and another spot that’s paper-thin, the thin part is going to cook and burn while you wait for the thick center to cook through. You MUST pound them to that quarter-inch consistency evenly across the entire breast. My mallet has become an extension of my arm!
Also, going back to what we talked about when frying: Do not overcrowd the pan! If you stack them too tightly, the pan temperature instantly drops. Instead of crisping, the breading steams in the trapped heat and moisture, leading to a soggy patch right where it touches the pan, making everything cook unevenly.
Problem Three: My Chicken Cutlets Are Dry
If you followed the steps and they still taste dry, it usually means one of two things happened: either you pounded them too thin (like cracker thin!) which leads to zero moisture retention, or you cooked them too long.
The goal for the internal temperature is 165°F. Because these cutlets are so thin, they get there fast! Seriously, check the temperature right around the 3-minute mark on the first side. If they are only 150°F, flip them and check again soon. As soon as they hit 165°F, they come out immediately. They don’t need to sit and keep cooking in the residual heat—that’s just inviting dryness.
Frequently Asked Questions About Chicken Cutlets
I get so many great questions every time I post about this recipe! It’s comforting to know so many people are whipping up these simple chicken cutlets for dinner. I wanted to round up some of the most common things folks ask me about breading, frying, and what to do with leftovers. Hope this clears everything up!
Can I bake or air fry these instead of pan-frying?
Oh, absolutely you can! I get it, sometimes frying just isn’t your vibe, or maybe you’re trying to cut down on oil, which is totally fine. If you want to bake them, you should spray them lightly with oil spray and bake them on a wire rack—that rack is key for air circulation underneath! Put them in a preheated oven at 400°F (200°C) for about 15 to 20 minutes, flipping halfway, until they’re golden. If you use the air fryer, it’s even better and closer to the pan-fried texture. Pop them in at 380°F for about 10 minutes, shaking the basket once.
How can I make the breading spicier for a kick?
This is my favorite customization! If you love heat, you can amp up the spice level in about three different places. First, add a teaspoon of cayenne pepper right into that flour mix. That gives it a nice baseline heat. Second, you can skip the plain breadcrumbs and use panko mixed with a little bit of crushed red pepper flakes. Finally, if you want serious heat, mix a teaspoon of hot sauce right into your egg wash before dipping the floured cutlets! It all helps them stick together, so you don’t lose the spice in the skillet.
What is the best oil to use for pan-frying these chicken cutlets?
My recipe calls for a mix of olive oil and butter, and that’s because using *only* olive oil, especially at medium-high heat, can sometimes lead to it smoking a little too fast. We want a nice, stable temperature. The butter provides that rich flavor, but the olive oil raises the smoke point just enough so the coating crisps perfectly without burning.
If you need an alternative and want a neutral flavor, a simple vegetable oil or canola oil works perfectly fine on its own in place of the olive oil mixed with butter. Just make sure you give it a minute to heat up properly before dropping the cutlets in!
Why does pounding the chicken so thin matter so much?
This is honestly the most important step for these quick cutlets. If you leave a chicken breast thick, say, a full inch, you have two problems: First, achieving 165°F in the center takes forever, which means the breading has been sitting in the hot oil for ages, getting dark and hard. Second, the thicker the meat, the more likely it is to seize up and get tough as it cooks. Pounding them thin ensures the meat cooks evenly alongside the delicate breading. It’s all about maximizing that golden, crispy surface area versus the tender interior!
Can I use these cutlets to make Chicken Parmesan?
Oh, yes! These are basically the perfect starting point for a great Chicken Parmesan. Once the cutlets are cooked through and beautifully golden, transfer them to a baking dish. Top each one with a spoonful of marinara sauce, a slice of mozzarella, and maybe a sprinkle of Parmesan. Pop them under the broiler just for a few minutes until the cheese is bubbly and melted. They are fantastic served over pasta!
Estimated Nutritional Information for These Chicken Cutlets
Now, I know some of you are tracking macros or just curious about what’s in your dinner bowl, so here is a quick rundown of the approximate nutrition based on the recipe ingredients. Remember, mine are estimates, so yours might vary slightly depending on the specific brand of breadcrumbs or how much oil sticks to the final product.
This information is based on one serving yielding one cutlet:
- Serving Size: 1 cutlet
- Calories: 320
- Protein: 34g (That’s a great punch for dinner!)
- Fat: 14g
- Saturated Fat: 3g
- Carbohydrates: 15g
- Sodium: 450mg
Because we are pan-frying, there’s a little more fat than if we baked them, but honestly, these calorie numbers are fantastic for a delicious, high-protein main course you can make in 30 minutes. Enjoy!
Print
Simple Pan-Fried Chicken Cutlets
- Total Time: 30 min
- Yield: 4 servings 1x
- Diet: Low Fat
Description
This recipe provides instructions for making thin, lightly breaded, pan-fried chicken cutlets.
Ingredients
- 4 boneless, skinless chicken breasts
- 1/2 cup all-purpose flour
- 1 teaspoon salt
- 1/2 teaspoon black pepper
- 2 large eggs, lightly beaten
- 1 cup breadcrumbs (plain or panko)
- 2 tablespoons olive oil
- 1 tablespoon butter
Instructions
- Place chicken breasts between two sheets of plastic wrap. Pound them to about 1/4 inch thickness using a meat mallet.
- Set up a breading station with three shallow dishes. In the first dish, mix the flour, salt, and pepper. In the second dish, place the beaten eggs. In the third dish, place the breadcrumbs.
- Dredge each pounded chicken cutlet first in the flour mixture, shaking off excess.
- Dip the floured cutlet into the egg, letting excess drip off.
- Coat the cutlet thoroughly in the breadcrumbs, pressing lightly so they adhere.
- Heat the olive oil and butter in a large skillet over medium heat.
- Carefully place the cutlets in the hot skillet, ensuring not to overcrowd the pan. Work in batches if necessary.
- Cook for 3 to 4 minutes per side, until golden brown and the internal temperature reaches 165 degrees Fahrenheit.
- Remove the cutlets from the skillet and place them on a wire rack or paper towel-lined plate to drain excess oil.
- Serve immediately.
Notes
- For extra flavor, mix 1/4 cup grated Parmesan cheese into the breadcrumbs.
- You can substitute chicken breasts with thin-cut pork chops for a similar result.
- Prep Time: 15 min
- Cook Time: 15 min
- Category: Main Course
- Method: Pan Frying
- Cuisine: American
Nutrition
- Serving Size: 1 cutlet
- Calories: 320
- Sugar: 1
- Sodium: 450
- Fat: 14
- Saturated Fat: 3
- Unsaturated Fat: 11
- Trans Fat: 0
- Carbohydrates: 15
- Fiber: 1
- Protein: 34
- Cholesterol: 110
Keywords: chicken cutlets, pan-fried chicken, breaded chicken, quick dinner, chicken breast recipe