
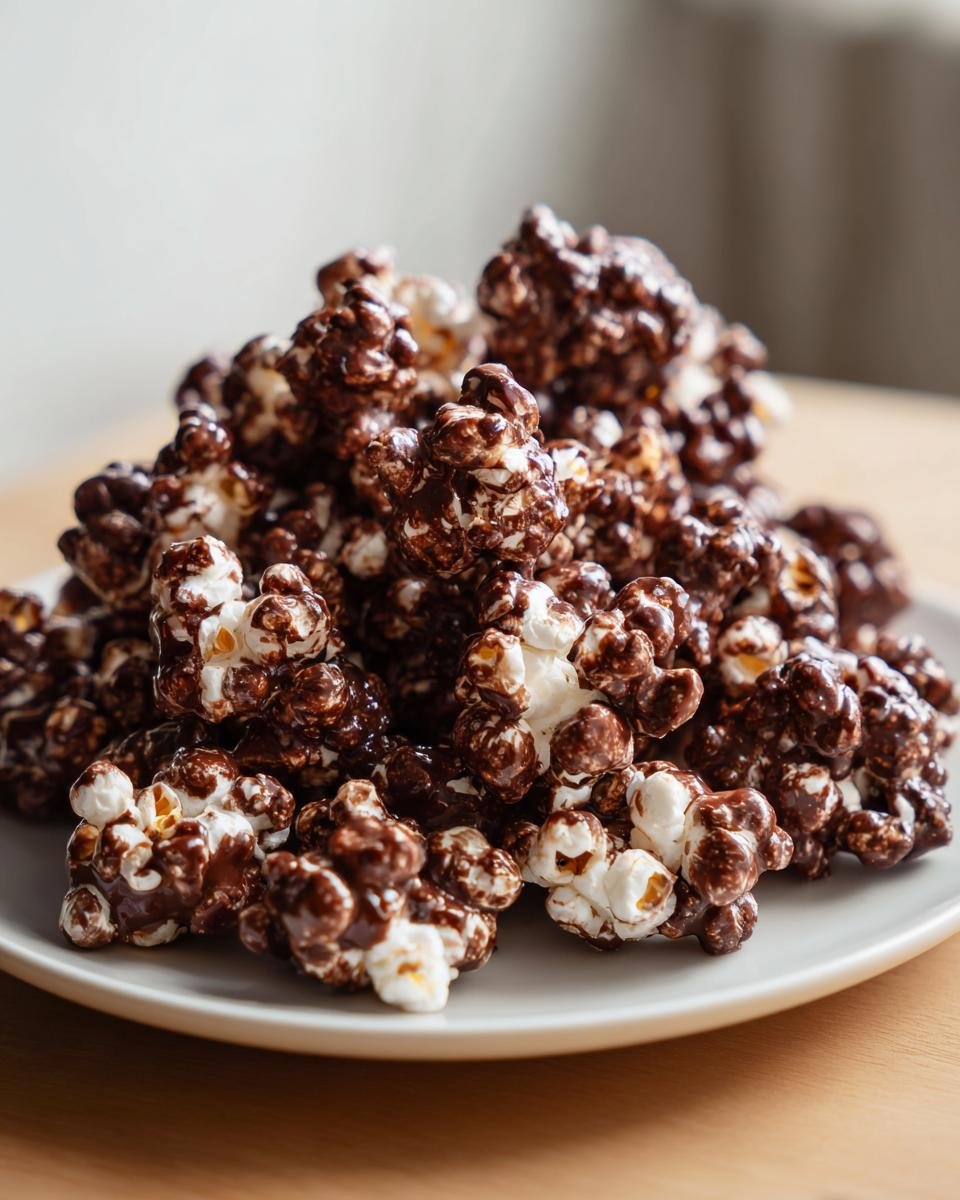
Oh man, do I have a secret weapon for when movie night rolls around! Seriously, nothing beats that moment when you reach into a giant bowl and pull out a handful of crunchy, salty popcorn smothered in sweet, rich chocolate. It’s the absolute best combination, right? Forget those complicated candy recipes that take forever; we’re talking about the ultimate, simple **Chocolate Covered Popcorn** that comes together faster than you can decide what movie to watch.
I make this stuff constantly. My kids always ask for it when we have friends over, and honestly, even my notoriously picky husband asks for this recipe specifically. I remember one disastrous attempt at making gourmet caramel corn where I nearly set off the smoke alarm—oops! Since then, I only turn to this foolproof chocolate coating. It’s so easy, you just feel like a genius when you pull it off perfectly!
We’re using just a handful of ingredients here to create that perfect, shatteringly crisp coating. Trust me, this easy popcorn recipe is about to become your go-to snack for everything from game days to quiet Tuesday evenings.

Why You Will Love This Simple Chocolate Covered Popcorn Recipe
I know what you’re thinking, “Can I really make something this good without hours of work?” The answer is a definite yes! This is the go-to treat when you need something fast but want it to taste like you spent all afternoon fussing over it. It’s just magic, I tell you!
- It’s Lightning Fast: Seriously, we are talking under 20 minutes total time. You can start popping your corn and be eating finished chocolate covered popcorn before the opening credits of your film even finish rolling.
- Minimal Fridge Clutter: You won’t need giant vats of corn syrup or thirty different spices. We are keeping the ingredient list super short so you don’t have to raid your pantry for obscure items.
- The Perfect Sweet and Salty Balance: This is the main event! The salty crunch of the popcorn against the creamy, slightly bitter chocolate shell? Honestly, it’s addictive. If you’re looking for that classic high-end snack flavor at home, this is it. You can even add a little extra sea salt if you want to lean into that salty side! If you love this flavor dynamic, you absolutely have to check out my guide for simple homemade caramel bars next.
Ingredients for Perfect Chocolate Covered Popcorn
You don’t need a massive shopping list for this treat, which makes getting started so easy. I always lay everything out on the counter before I even think about heating up the stove—it just keeps things organized! Remember, since we aren’t doing a full caramel base, the quality of the chocolate really shines through.
Here’s what you need to pull together this foolproof snack:
- 1/2 cup popcorn kernels – Make sure these are fresh so they pop up nice and fluffy!
- 1/4 cup vegetable oil – This is just for popping the corn on the stovetop, you definitely don’t want to skimp here for a good, even pop base.
- 1 cup semi-sweet chocolate chips – My personal favorite is semi-sweet, but you can totally use milk chocolate if you have a massive sweet tooth!
- 1 tablespoon coconut oil – Don’t skip this little guy! It makes the chocolate super smooth and glossy when melted, which is essential for a beautiful coating.
That’s seriously it! See? So easy. Just have these ready to go, and you’re halfway to deliciousness before the popcorn is even popped.
Essential Equipment for Making Chocolate Covered Popcorn
Listen, even though this recipe is super straightforward, being prepared makes everything go smoother. You don’t want to realize halfway through melting the chocolate that you don’t have a proper bowl for tossing, right? That’s when things get messy and you start crushing your perfectly popped corn!
I always gather my gear ahead of time so I can focus completely on getting that chocolate coating just right. For this simple batch of homemade chocolate popcorn, you really only need four things. Having the right tools prevents accidents and ensures you don’t end up with a clumpy, uneven mess. It’s all about setting yourself up for easy success!
- A Large Pot with a Lid: This is for making the actual popcorn. You need a nice big one to ensure that 1/4 cup of oil can evenly coat the kernels and give them room to puff up without burning on the bottom.
- A Microwave-Safe Bowl: We are melting the chocolate in the microwave for speed. Make sure this bowl is big enough that when you dump the popped corn in later, you have plenty of room to toss it around without spilling everywhere.
- Parchment Paper: This is non-negotiable in my book! You’ll line your baking sheet with this so the chocolate pops don’t stick to the metal pan. A happy, non-stuck snack is a tasty snack.
- A Large Baking Sheet: Once the popcorn is coated, you need a flat surface to spread it out so the chocolate can cool evenly. A standard cookie sheet works great here.
See? No fancy double boiler needed for this version! Just standard kitchen gear, and you are ready to go make the best sweet and salty snack!
Step-by-Step Instructions for Homemade Chocolate Covered Popcorn
Okay, buckle up! This is where the magic happens, and I promise this process is so satisfying to watch. We’re using the stovetop for our popcorn base because you get the best volume that way, and the microwave for quick, perfect chocolate melting. Honestly, watching the popcorn transform into this amazing treat is half the fun.
Just make sure you have all your equipment ready from the last section, especially that baking sheet lined with parchment paper. You want to move fast during the coating stage so the chocolate doesn’t start hardening on you! For a truly stunning final product, check out how I make a chocolate pizza—it uses a similar technique for smooth melting!
-
Popping the Corn
Grab that large pot. Pour in your 1/4 cup of vegetable oil and heat it up over medium-high heat. Once that oil is shimmering, drop in your 1/2 cup of kernels. Cover it tightly and shake the pot gently every few seconds while the corn starts popping actively. Pull the pot off the heat once the popping slows down to about two seconds between pops. Dump all that glorious, freshly popped corn into your biggest mixing bowl. Pro tip from my kitchen: if you’re feeling fussy, take a minute now to quickly pick out those hard, un-popped kernels or the tough hulls. It makes for a much better eating experience!
-
Melting the Chocolate Coating for Chocolate Covered Popcorn
Now for the coating! In your microwave-safe bowl, combine the 1 cup of chocolate chips with that crucial 1 tablespoon of coconut oil. We microwave this in short bursts so we don’t scorch the chocolate—and nobody wants scorched chocolate, trust me. Start with 30 seconds on medium power. Pull it out, stir it really well, even if it doesn’t look melted yet. The residual heat will keep working! Keep zapping it in 30-second intervals, stirring until it’s glossy, smooth, and beautifully liquid. The coconut oil helps lower the melting point just enough to keep it nice and pourable.
-
Coating and Setting Your Chocolate Covered Popcorn
This part requires a light touch! Pour that glorious melted chocolate right over the popped corn in the large bowl. Now, you need to toss, but be gentle! Use a large spatula or even clean hands (if you move fast) to gently fold the mixture. You want every piece coated, but you absolutely do not want to smash all those perfect fluffy kernels! We’re aiming for an even coating, not popcorn dust, remember? My biggest piece of advice here is to toss just enough to coat—don’t keep stirring once you see most pieces are covered.
Once they’re coated, dump the chocolate covered popcorn right onto your waiting parchment-lined baking sheet. Spread it out into a thin, single layer. If you leave it in a big pile, the middle layer will stay gooey forever! Let it set completely at room temperature, which usually takes about an hour. If you’re impatient like I am, pop the sheet into the fridge for about 15 minutes—that quick chill will give you that perfect, satisfying snap.

Tips for Making the Best Chocolate Covered Popcorn
Even with such a simple recipe, a couple of tiny details can take your chocolate covered popcorn from “pretty good” to “I can’t stop eating this, help me!” It all comes down to watching your humidity and making smart choices about your chocolate.
I learned the hard way that trying to make this on a rainy summer day is risking disaster. Chocolate hates moisture! If your kitchen is really damp, the chocolate might seize up on you the second it hits the air, turning grainy instead of smooth. If you sense it’s a humid day, definitely try to chill the final product in the fridge for that extra 15 minutes to lock that coating in place quickly.
Here are a few of my own little tricks to guarantee a perfect batch every single time:
- The Quality of Your Chocolate Matters: Since we aren’t using tons of sugar or stabilizers, the taste of your chocolate chips is loud and clear in this snack. I always opt for a good quality brand of semi-sweet chips. If you want it richer, you can substitute half the chips with bittersweet! I save my fancy couverture chocolate for things like chocolate ganache cupcakes, but really nice chips work perfectly here.
- Don’t Over-Toss! I mentioned it before, but it bears repeating. Once that melted chocolate is in the bowl, you need to fold, not stir. Aggressive mixing breaks down the popcorn kernels and creates all that leftover dust at the bottom of your bowl—which is fine for movie snacks, but we want fluffy pieces! Gentle folding is key to keeping that airy texture intact.
- A Quick Dusting of Salt: If you used unsweetened or dark chocolate and feel it’s not salty enough, finish it right after you spread those pieces out on the parchment paper. A tiny sprinkle of flaky sea salt (I mean tiny—just a light dusting!) really elevates that sweet and salty vibe we are going for. It catches in the barely-set chocolate beautifully.
Follow these little insights, and your homemade chocolate popcorn will be the star of the show!
Variations on Classic Chocolate Covered Popcorn
Okay, so if you’ve mastered the recipe exactly as written, congratulations! You have achieved peak easy snacking perfection. But you know me, I can never leave well enough alone! If you want to jazz up your batch of **Chocolate Covered Popcorn** for a party or just for fun, I have a few super simple ways to customize it without adding a ton of extra steps.
The beauty of a simple coating like this is that it acts like a blank canvas for flavor. Since we aren’t doing a whole caramel process, any additions go in right before or right after the coating stage. I always try to add something crunchy or something extra sweet!
If you’re looking for more decadent flavor combinations, you should definitely peek at my recipe for Reese’s Oreo Balls—it’s got that same fun, simple mixing vibe!
Add some crunch with nuts or pretzels
If you want to bump up the texture—and let’s be honest, who doesn’t want more crunch?—tossing in finely chopped nuts is a fantastic idea. Pecans or walnuts toast up so beautifully and give a great earthy flavor against the chocolate. Just chop them coarsely—you want chunks, not dust!
Another thing I love screwing around with is pretzels. If you crush up some mini twists coarsely and mix those in during the coating stage, it just amps up that salty side of the sweet and salty snack profile immensely. You get the salt from the pretzel, the salt from the popcorn, and the sweet chocolate—it’s a flavor explosion!
Experiment with your chocolate base
We used semi-sweet, which is my champion choice because it balances the sugar in the corn perfectly. But if you are a dark chocolate fanatic, go for it! Use high-quality dark chocolate chips instead. It makes a richer, less sweet popcorn, which is fantastic if you prefer that deeper cocoa flavor.
On the flip side, if you are making this for a crowd of total sweet tooths, try substituting half your semi-sweet chips with milk chocolate chips. Just remember that milk chocolate usually melts a little faster, so keep a close eye on it while microwaving!
Mix in some colorful sprinkles
This is purely for aesthetics, but it makes such a difference! Once you spread out the chocolate covered popcorn onto the parchment paper, immediately hit it with some fun, colorful sprinkles. Birthday cake sprinkles or even seasonal colors look amazing against that dark chocolate sheen. This is the quickest way to turn a regular home snack into something impressive for a party table. They stick right on before the chocolate fully sets up, so do it right after you spread the popcorn out!
Storing Leftover Chocolate Covered Popcorn
Now, if you manage to have any leftover **Chocolate Covered Popcorn** (which is usually a big ‘if’ in my house!), you definitely want to store it right so it stays perfectly crisp and doesn’t end up a big melted mess later. Who wants chocolate goo when they were expecting a crunchy snack?
The main enemy here is heat and humidity. If you leave this sitting out on the counter near a sunny window or next to the stove, you’re gonna wake up to a slab of chocolate instead of individual pieces of popcorn. When I store mine, I make sure the container is truly ready for the task!
Here’s my foolproof plan for keeping this sweet and salty snack ready for round two:
- Airtight is Your Best Friend: You must keep this in an airtight container. I prefer big Ziploc bags that I press all the air out of before sealing, or a sturdy plastic container with a tight-fitting lid. This keeps ambient air and moisture from getting in and making that beautiful chocolate shell soft.
- Keep It Cool: Room temperature is usually fine, unless your house gets really warm! If it’s over 70 degrees Fahrenheit, or if you notice the chocolate feeling even slightly soft to the touch, you should definitely move it to the refrigerator.
- Fridge Storage Tip: If you chill your chocolate covered popcorn, just remember to let it sit on the counter for about ten minutes before you eat it. Bringing it back to temperature slowly helps prevent condensation from forming on the chocolate, which can sometimes make it look dull or slightly streaky.
Stored correctly, your batch of homemade chocolate popcorn should stay crisp and delicious for at least four to five days. If it starts tasting stale, you know you waited too long! But seriously, it never lasts that long around here.
Frequently Asked Questions About Chocolate Covered Popcorn
I always get so many questions after I share this recipe because everyone wants to make sure their batch turns out perfect! It’s the perfect sweet and salty snack, but sometimes people worry about messing up the chocolate coating. Don’t stress! I’ve gathered the questions I get asked the most about making your own **homemade chocolate popcorn**.
I actually ended up having to save a batch of chocolate for a cake once, and while I was looking up tips for that, I remembered a few things about avoiding disasters here too! If you’re interested in more chocolate how-to’s, my guide on the chocolate blackberry layer cake has some great general tips on handling chocolate.
Can I use candy melts instead of chocolate chips for Chocolate Covered Popcorn?
Oh yes, you absolutely can! Candy melts are designed specifically for coating, so they melt down incredibly smoothly without the risk of seizing that real chocolate has. If you use those, you can skip the coconut oil entirely because they are already nice and slick. The flavor will be sweeter and less complex than using good semi-sweet chips, but they set up really fast and look super shiny, so it’s a great super-quick option!
How do I stop the chocolate from seizing when making Chocolate Covered Popcorn?
Seizing is the absolute worst because it turns your beautiful smooth chocolate into a grainy, dry mess, and there’s almost no coming back from it once it starts! The reason it happens is simple: water. Even a single drop of steam or a splash of condensed liquid will make the chocolate clump up.
So, my advice is twofold: First, make sure your microwave-safe bowl is bone dry—no lingering dishwater droplets! Second, when you’re microwaving, stir frequently, but don’t try to taste it or add anything until it’s mostly melted. Keep the heat low and slow, and your chocolate covered popcorn mixture will stay perfectly liquid and pourable.
What is the best way to get a thin, even coat on the popcorn?
This is all about that gentle tossing I talked about in the steps! You want to coat, not saturate. My trick is to pour about two-thirds of the chocolate over the popcorn first, toss gently until about 80% of it is covered, and then drizzle the last bit of chocolate over any dry spots. This prevents you from using too much chocolate, which just ends up making the popcorn heavy and clumpy.
If you’re still finding some pieces are drier than others, sometimes pulling the bowl off the heat and letting it sit for just a minute allows the chocolate coating to thin out slightly on its own before the final gentle fold. Thin coats set faster and taste better, in my opinion!
Nutritional Estimates for This Chocolate Covered Popcorn
Now, I have to be super honest with you right up front here. If you are tracking macros or counting calories strictly, keep in mind that these numbers are just my best guess based on standard ingredient amounts. I’m working off general averages, so your actual numbers might shift a little depending on the brand of chocolate chips you use or how much of that popcorn hull you manage to pick out!
This recipe is definitely a treat, not a health food, but since it’s homemade, you know exactly what went into it! If you are looking to lighten up your snack game without going full-on chocolate, you might want to look into how to make a light cake without butter and sugar next time you need a dessert fix. But for this sweet and salty snack, let’s look at the numbers for one standard cup serving size:
- Serving Size: About 1 cup
- Calories: 250 (Pretty solid for a handful of amazingness!)
- Total Fat: 15g
- Saturated Fat: 8g (That’s mostly from the delicious chocolate, sadly!)
- Unsaturated Fat: 7g
- Trans Fat: 0g (We love to see that zero!)
- Total Carbohydrates: 28g
- Sugar: 18g (It’s a dessert, after all!)
- Protein: 3g
- Cholesterol: 5mg
- Fiber: 2g
See? Not too bad for a fantastic homemade chocolate popcorn that satisfies those intense cravings. Enjoy responsibly, because these bowls disappear fast!
Print
Simple Chocolate Covered Popcorn
- Total Time: 15 min
- Yield: 4 servings 1x
- Diet: Vegetarian
Description
A recipe for making sweet and salty chocolate-coated popcorn at home.
Ingredients
- 1/2 cup popcorn kernels
- 1/4 cup vegetable oil
- 1 cup semi-sweet chocolate chips
- 1 tablespoon coconut oil
Instructions
- Pop the popcorn kernels using the vegetable oil in a large pot over medium-high heat. Remove hulls if desired. Place popped corn in a large bowl.
- In a microwave-safe bowl, combine the chocolate chips and coconut oil.
- Microwave in 30-second intervals, stirring well after each interval, until the chocolate is smooth and fully melted.
- Pour the melted chocolate mixture over the popcorn.
- Gently toss the popcorn until it is evenly coated with chocolate.
- Spread the coated popcorn onto a baking sheet lined with parchment paper.
- Allow the chocolate to set completely at room temperature or refrigerate for 15 minutes for faster setting.
Notes
- For a firmer coating, you can chill the popcorn for 15 minutes.
- You can use milk or dark chocolate instead of semi-sweet.
- Store leftover popcorn in an airtight container.
- Prep Time: 10 min
- Cook Time: 5 min
- Category: Snack
- Method: Coating
- Cuisine: American
Nutrition
- Serving Size: 1 cup
- Calories: 250
- Sugar: 18
- Sodium: 150
- Fat: 15
- Saturated Fat: 8
- Unsaturated Fat: 7
- Trans Fat: 0
- Carbohydrates: 28
- Fiber: 2
- Protein: 3
- Cholesterol: 5
Keywords: chocolate covered popcorn, sweet and salty snack, homemade chocolate popcorn, easy popcorn recipe