
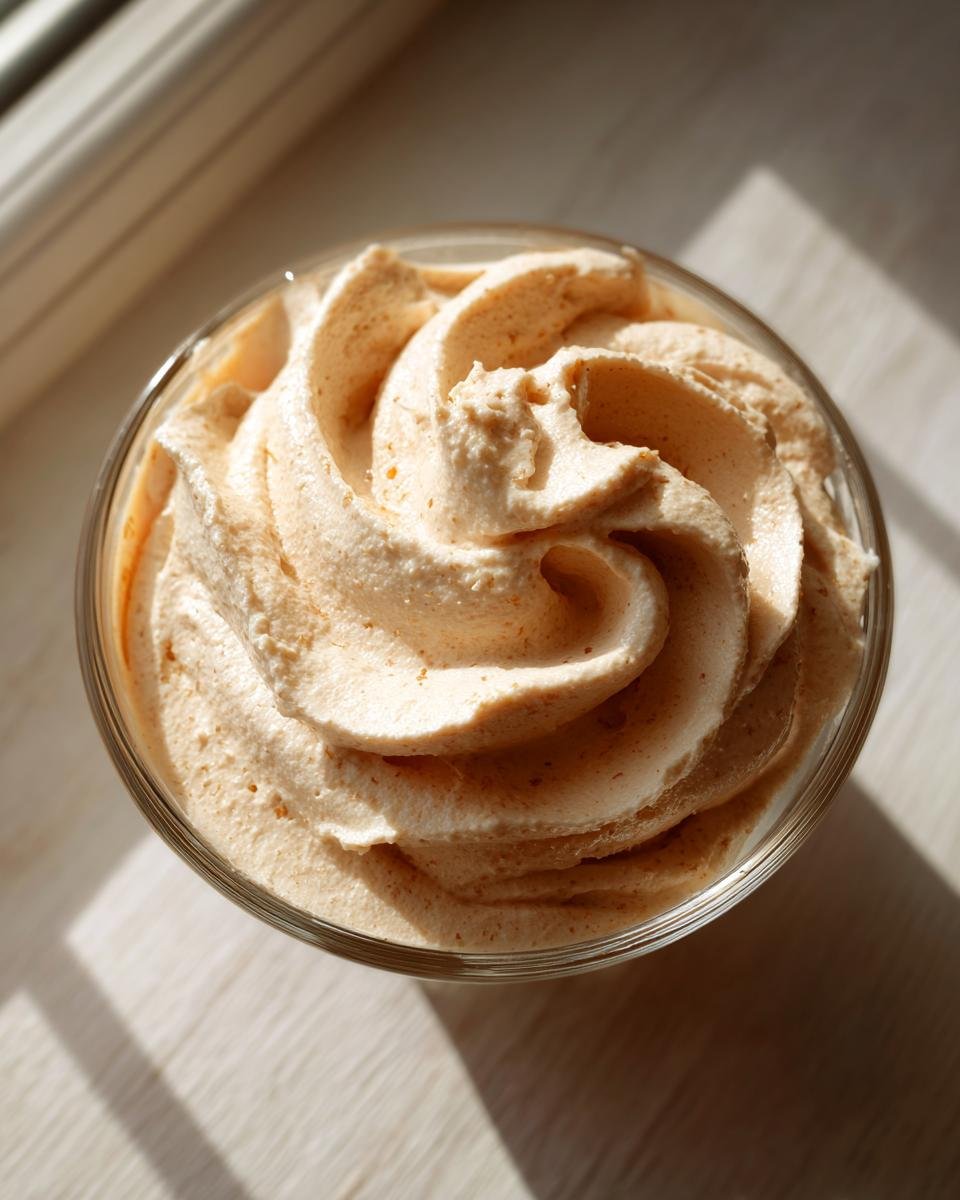
Don’t you just hate it when you promise dessert but suddenly realize you have absolutely zero time to bake anything complicated? Me too! That used to send me into a panic, but not anymore. If you need something outrageously delicious, fast, and light enough that you don’t feel guilty eating a second spoonful, you have to try this Peanut Butter Mousse. Seriously, forget those heavy, dense peanut butter treats for a minute. This recipe is the absolute simplest, fluffiest mousse you will ever make.
I whipped this up last month when friends unexpectedly showed up two hours early for a dinner party; it saved my life! Because it relies only on a few pantry staples and zero oven time, I feel very confident guiding you through it. You’ll see in just a few minutes that this method guarantees an airy, melt-in-your-mouth experience every single time.

Why This Peanut Butter Mousse Recipe Stands Out
Look, my kitchen has seen its share of complicated desserts, but sometimes you just need dessert magic without the fuss. This one is a staple because it hits all the right notes without demanding hours of your time. It’s the perfect happy medium between decadent and delicate.
- It takes honestly about ten minutes of work before it goes into the fridge.
- You only need four main ingredients—that’s it!
- The texture is shockingly light, not like a heavy pudding at all.
Quick Prep Time for Your Peanut Butter Mousse
We’re talking 10 minutes standing time, tops. Since this is a completely no-bake situation, it’s my go-to when I realize I forgot to plan dessert for the week. You just mix, fold, and chill. If you’re looking for something similar that’s also fast, you might love my five-ingredient peanut butter bars, but this mousse is way fluffier!
Incredibly Light and Fluffy Texture
The secret here is that we aren’t using gelatin or eggs; we are using good old-fashioned heavy cream whipped stiff! That lifted cream is what makes the peanut butter mixture feel airy instead of dense. It really defies gravity, honestly.
Essential Ingredients for Perfect Peanut Butter Mousse
You won’t believe these few items make something this dreamy. When I say simple, I mean it. We are keeping the ingredient list tight so the star, that creamy peanut butter flavor, truly shines through. You’ll need exactly one cup of heavy whipping cream—and I mean *heavy*! Don’t try to sneak in half-and-half here, or you’ll end up with soup instead of mousse.
You also need your favorite creamy peanut butter, about a half-cup. Make sure it’s the standard jarred kind, not the natural stuff that separates immediately, unless you really stir that oil back in well. We use powdered sugar—a quarter cup—because it dissolves instantly without making the mousse grainy. And finally, just a teaspoon of vanilla extract to round everything out. Oh, and don’t forget the bowls need to be ICE COLD before you start whipping the cream. That’s my top pro-tip for getting volume!
If you’re looking for another recipe using just a few ingredients, you absolutely must check out my secrets for three-ingredient peanut butter balls next!
Equipment Needed for Making Peanut Butter Mousse
Okay, before you even think about opening that fridge for the cream, you need to gather your tools. The right gear makes this process so much smoother, especially when chilling that bowl is key. Trust me, having everything ready means you won’t be scrambling when the mixer starts running!
First thing first, you absolutely need a large mixing bowl—the bigger the better. And yes, you need to pop that bowl and your whisk attachment (if you’re using an electric mixer, which I highly recommend) into the freezer for at least ten minutes. Cold metal helps everything whip up faster and keeps the fat in the cream nice and stiff.
Next up, you’ll need a separate medium bowl. This is where the peanut butter, sugar, and vanilla get mixed into that smooth base before we introduce it to the whipped cream. Speaking of mixing, you’ll want either a hand mixer or a stand mixer to save your arm strength whipping that cream, though Grandma always used a sturdy wooden spoon for everything!
Don’t forget a good silicone spatula. That’s non-negotiable for gently folding everything together without deflating all that lovely air we just created. Finally, have your serving dishes ready to go—small cups, bowls, or even cute little ramekins work perfectly since this sets up nice and cold.
Step-by-Step Instructions for Your Peanut Butter Mousse
Okay, this is where the magic happens! Remember how I told you preparation is key? Now that your bowl is frosty cold, we can get this light, dreamy dessert going. Don’t rush the whipping or the folding—those two steps define whether you end up with a fluffy cloud or a heavy blob. We are aiming for cloud territory, always!
If you love easy, one-bowl magic similar to this, check out my recipe for the one-bowl peanut butter cream pie—it’s decadent! But for sheer lightness, this mousse can’t be beaten.
Preparing the Base for the Peanut Butter Mousse
First, that cream needs some incentive to get lofty! Grab that super-chilled bowl and toss in your full cup of cold heavy whipping cream. Start it on medium speed so it doesn’t just splash everywhere. Once you see bubbles forming, crank it up to medium-high. You want to whip it until you get soft peaks. That means when you lift the whisk, the tip flops over slightly. Don’t go all the way stiff yet; we need just enough structure right now.
Creating the Peanut Butter Flavor Layer
While the cream is chilling slightly, take your peanut butter, powdered sugar, and vanilla and beat them together in your second bowl. You need to mix this until it looks completely homogeneous and smooth—no lumps of sugar allowed! This creates a thick flavor paste that we are about to lighten up significantly.
Folding the Peanut Butter Mousse Mixture
Listen closely for my number one tip regarding airy texture: you must fold, never stir! Take about a third of your soft-peaked whipped cream and stir that into the peanut butter mixture until it’s mostly combined. This lightens the peanut butter paste so it won’t crush the air out of the rest of the cream. Then, add the remaining cream in two go’s. Use a big spatula and gently cut down the middle, then sweep across the bottom and up the side. Stop folding the second you don’t see white streaks anymore. Overmixing is the enemy here!

Chilling and Serving the Peanut Butter Mousse
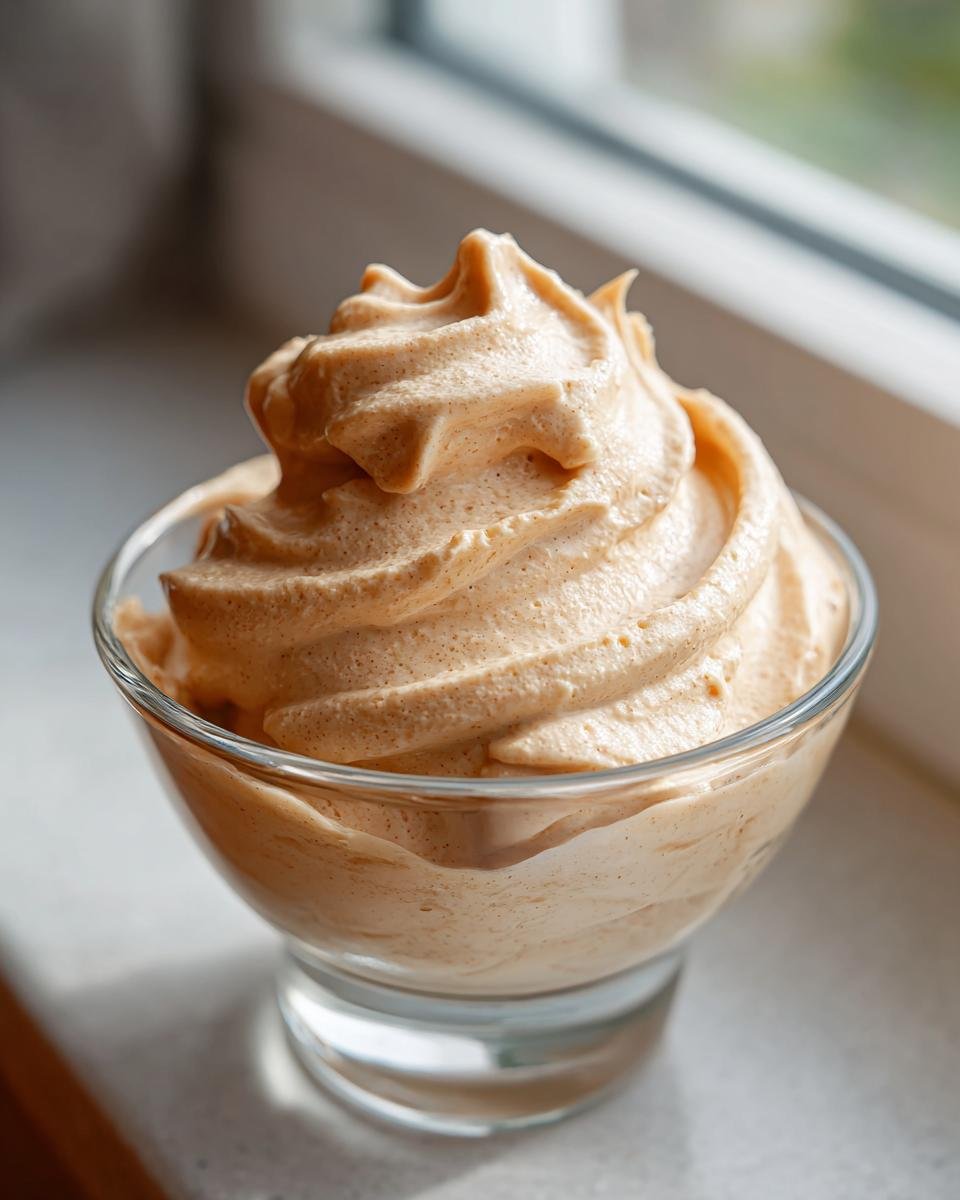
Once it’s combined, gently spoon the mixture right into your serving dishes—I love small wine glasses for this! Now comes the hard part: waiting. You absolutely need to chill this for a minimum of one full hour. If you have patience (or if you’re serving it for a big event), two hours makes it amazingly firm and easier to top with things.
Tips for the Best Peanut Butter Mousse Results
Making this dessert is easy, but getting that truly airy, restaurant-quality texture sometimes needs a little fine-tuning. I’ve messed this up plenty of times when I was rushing, so I learned a few handy tricks to make sure your mousse sets up exactly how you want it. It’s usually just about temperature and patience!
If you thought this recipe was quick, you have to try my peanut butter mug cake. It’s gooey and ready in five minutes flat, which is perfect for single servings!
Adjusting Consistency of Your Peanut Butter Mousse
The chilling time is your main lever for how firm this dessert turns out. If you’re planning to serve this right away after dinner, stick to that one-hour minimum. It will still be delightfully light and creamy, almost like a very thick whipped cream that melts beautifully in your mouth. That’s the soft, lovely version.
Now, if you want it firm enough that you could almost pipe it—though I wouldn’t test it too much—then let it chill for a full two hours, maybe even three. The cold helps the small amount of fat in the peanut butter solidify just a touch, giving you a much sturdier texture that still retains all that whipped air. Never try to rush this chilling phase by sticking it in the freezer; that just turns it into icy peanut butter, and we definitely don’t want that!
Peanut Butter Substitutions for Peanut Butter Mousse
Most people stick to regular, creamy, stabilized peanut butter (like Jif or Skippy), and that’s what I based this recipe on because it rarely separates when meeting cold cream. But what if you only have that healthy, all-natural stuff where the oil floats on top?
If you use natural peanut butter, you must stir it—and I mean *really* stir it—until it’s completely uniform before you even think about mixing it with the sugar and vanilla. If you don’t, the less stable oil might cause the whipped cream to break down when you fold it in, leaving you with a soupy mess at the bottom of your bowl, unfortunately. It won’t ruin the flavor, but it absolutely ruins the beautiful, light texture we’re aiming for!
Creative Variations for Your Peanut Butter Mousse
While this recipe is perfect just as it is—a pure, simple celebration of peanut butter—sometimes you just want to jazz things up a little bit, right? I get it! It’s so easy to customize this base because the texture is so forgiving once you master the gentle fold. You don’t need to change the main parts, just toss in an extra flavor note.
If you are totally obsessed with peanut butter and chocolate together (and who isn’t?), you have to try crumbling some mini peanut butter cups right into the final mixture. We’re talking about Reese’s pieces or chopped Reese’s cups—they get slightly soft but still offer a great bite. I usually save some of those little candy pieces to press right on top before the mousse goes into the fridge to chill.
For a slightly warmer flavor profile that sings, try adding just a tiny pinch of ground cinnamon to your peanut butter and sugar mix before you fold it in. It sounds strange, but it really elevates the nuttiness, sort of like you put that peanut butter in the oven first! It’s unexpected but delicious.
And of course, texture! If you don’t love that super-smooth feel, swap out the creamy peanut butter for crunchy. It gives the whole dessert a little rustic edge. You already know I have a weakness for chocolate and peanut butter combos, so if you want another crazy good hit of that dynamic duo, you have to look at my recipe for amazing Reese’s Oreo balls!
Serving Suggestions for Peanut Butter Mousse
Once this light cloud of dessert finally comes out of the fridge and has set up perfectly, it deserves a beautiful presentation. Honestly, you could eat it plain with a spoon right out of the bowl, and I wouldn’t judge you, but a few simple additions can take this from a quick treat to something worthy of a fancy dinner party!
Visual appeal is half the fun, and since the mousse itself is so pale and creamy, you need some contrast on top. My favorite thing—the absolute showstopper—is a little drizzle of high-quality melted dark chocolate. You just melt a small bar down and zig-zag it artistically over the top of each serving. If you want an extra layer of flavor that melts beautifully along with the chocolate, try drizzling on some good salted caramel sauce right before serving.
If you’re serving this in the summer, or if you need something to cut through the richness of the peanut butter, use fresh fruit! Fresh raspberries or sliced strawberries look gorgeous piled right on top. The slight tartness of the berries is just the perfect counterpoint to the sweet, salty peanut flavor. It brightens the whole dish up beautifully.
For texture, you can’t go wrong with a light sprinkle of something crunchy. Think about finely chopped roasted peanuts—because you can never have enough peanuts, right?—or even a few fine chocolate shavings. You’re aiming for just a little topping because we want the fluffiness of the mousse to be the main event, not a heavy crust!
Storage and Reheating Instructions for Peanut Butter Mousse
The best part about this light dessert is that it actually holds up really well in the fridge! Since it’s no-bake and relies on cold cream for structure, airtight storage is the absolute name of the game here. You want to make sure you cover those serving dishes tightly before tucking them away.
For keeping it fresh, I always recommend eating it within two days. Honestly, three days is probably the maximum before the texture starts to degrade a tiny bit. The lightness from the whipped cream can start to settle after that, and while it’s still tasty, it won’t have that freshly-whipped loftiness you get on day one. Try to keep it away from anything smelly in the fridge, too, because whipped cream loves to absorb odors!
Now, let’s talk about reheating. Since this is a whipped cream-based mousse, you absolutely cannot reheat it. If you try to warm this up, you’ll just end up with sweet, slightly oily peanut butter soup. We want cold, fluffy clouds, never melted puddles. So, just plan on keeping those leftovers chilled! If you’re worried about it drying out near the edges after a day, you can always top it with a fresh, tiny dollop of whipped cream right before serving again.
Frequently Asked Questions About Peanut Butter Mousse
It is so fun seeing all the questions people have once they try this easy dessert! Most of the time, folks are wondering about swaps or how to store the leftover fluffiness. I try to keep things simple, but when you’re dealing with whipped cream, a few details can make all the difference between success and sadness. Don’t worry, I’ve got the answers right here!
If you are looking for another fun peanut butter dip—because who isn’t?—you should totally check out my recipe for pumpkin peanut butter dip for a fall twist!
Can I make this Peanut Butter Mousse ahead of time?
Yes, absolutely! Because this dessert actually *needs* chilling time to set up well, making it ahead is usually better. I find that the texture is absolutely peak perfection if you let it chill for about 4 to 6 hours, but honestly, if you make it the morning before you plan to serve it, it’s still fantastic. I wouldn’t push past 24 hours, though. After that, the cream structure starts to weep a little moisture into the peanut butter layer, and while it’s safe to eat, it loses some of that initial bright loft.
What is the secret to keeping the Peanut Butter Mousse light?
This is my favorite question because it gets right to the heart of this recipe! The secret is twofold, and both parts involve not messing with the air you create. First, make sure your heavy cream is very cold when you start whipping it—that helps it reach maximum volume fast. Second, and this is crucial, when you fold that peanut butter mixture into the whipped cream, you must be gentle! Do it in stages, and use a big spatula to scoop from the bottom and fold over. If you stir it forcefully, you collapse all those lovely air bubbles, and you end up with something dense instead of light.
Can I use natural peanut butter in this Peanut Butter Mousse?
You can, but you have to be prepared! Natural peanut butter—the kind you have to stir endlessly because the oil separates—is a bit trickier here. Since the mousse relies on the fat content in the peanut butter blending smoothly with the cream, if the oil hasn’t been totally incorporated back into the solids, you might find that the oil separates out when it hits the cold cream.
My advice? If you must use the natural kind, take a good minute or two to stir that jar until it looks completely uniform and thick—thicker than you think it needs to be. It should look like the conventional kind before you start mixing it with your powdered sugar and vanilla. If you do that prep work right, you’ll get the right texture!
Share Your Simple Peanut Butter Mousse Creations
Well, that’s it! I hope you’re staring at a beautiful dish of the fluffiest, easiest dessert you’ve ever made. Seriously, taking those few minutes to chill the bowl and fold everything gently makes all the difference in the world, doesn’t it? I am so excited for you to try it.
Now, I can’t wait to see what you all come up with! If you made this Peanut Butter Mousse and it saved the day, or if you added a fun topping like salted caramel or raspberries, please come back and tell me about it! Drop a comment down below, and let me know how it turned out for you and what your final chill time was.
Also, if you snapped any pictures of your light, dreamy mousse, share them on social media and tag me! I love seeing your creations on my feed. If you have any burning questions that I missed, you can always reach out to me directly through my contact page, too. Thanks so much for trying out my favorite quick-fix sweet treat!
Print
Simple Peanut Butter Mousse
- Total Time: 70 min
- Yield: 4 servings 1x
- Diet: Vegetarian
Description
A quick and light dessert made with peanut butter, cream, and powdered sugar.
Ingredients
- 1 cup heavy whipping cream
- 1/2 cup creamy peanut butter
- 1/4 cup powdered sugar
- 1 teaspoon vanilla extract
Instructions
- Chill a mixing bowl and whisk attachment in the freezer for 10 minutes.
- Pour the heavy whipping cream into the chilled bowl.
- Beat the cream on medium-high speed until soft peaks form.
- In a separate bowl, mix the peanut butter, powdered sugar, and vanilla extract until smooth.
- Gently fold the peanut butter mixture into the whipped cream in three additions until just combined. Do not overmix.
- Spoon the mousse into serving dishes.
- Chill for at least 1 hour before serving.
Notes
- For a firmer mousse, chill for 2 hours.
- You can substitute low-fat peanut butter, but the texture may change.
- Prep Time: 10 min
- Cook Time: 0 min
- Category: Dessert
- Method: No Bake
- Cuisine: American
Nutrition
- Serving Size: 1 serving
- Calories: 350
- Sugar: 20
- Sodium: 150
- Fat: 28
- Saturated Fat: 10
- Unsaturated Fat: 18
- Trans Fat: 0
- Carbohydrates: 22
- Fiber: 2
- Protein: 10
- Cholesterol: 35
Keywords: peanut butter mousse, easy dessert, no bake, light dessert, sweet treat